Studio Console Part 17
As always with these big projects, you have ten times bigger projects crossing what you though would be you main project and before you know it your last post is over four months old. Well I can tell you that you haven’t missed anything regarding the studio console, since I didn’t had any time for it. Good news is that I did find time to finish it last week and it is now almost finished. I would say 99,9% done! Check out the pictures…
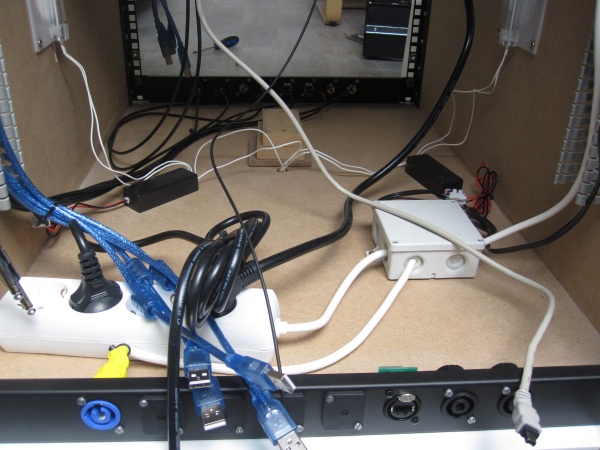
One of the reasons it took so long is probably because the remaining stuff was soldering and more soldering of cables and ordering of even more cables. Mostly not my favorite job, but when done properly it gives a huge satisfaction and saves you cable spaghetti work in the future.
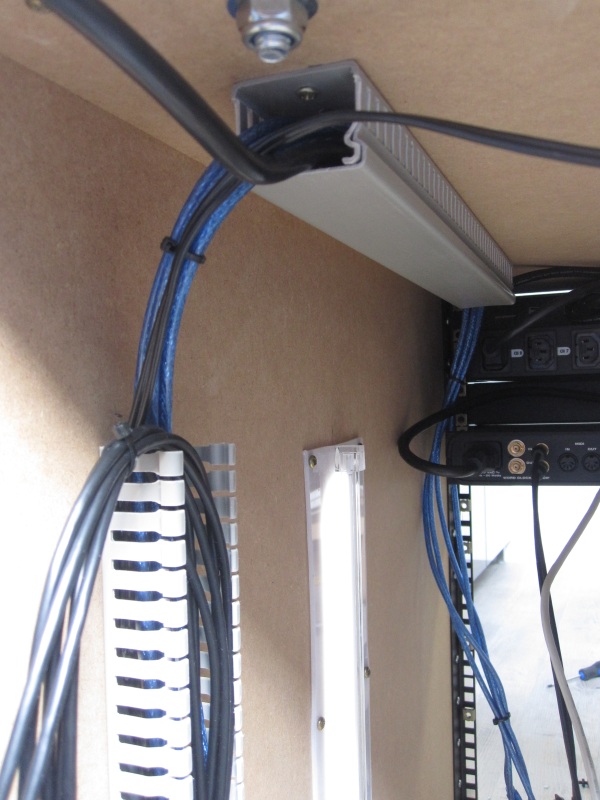
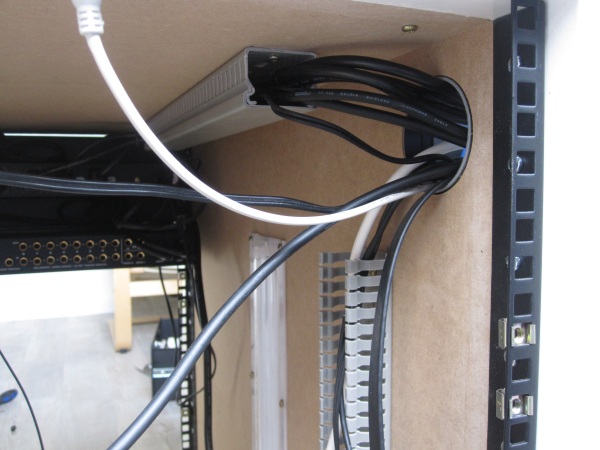
So I started by taking out most equipment and redo some cabling. New where all the audio cables to and from the audio connectors in the 19 inch panels at both the front and back.
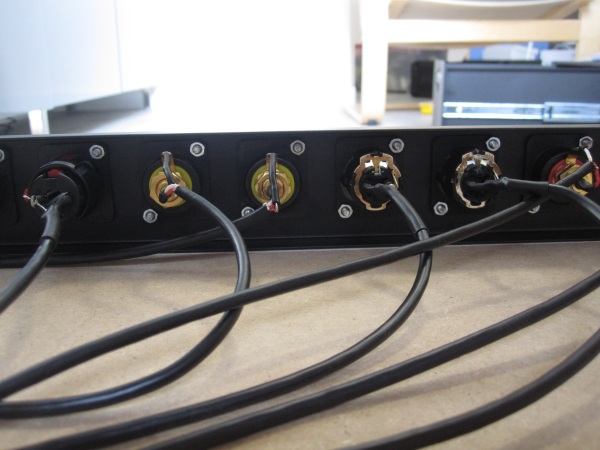
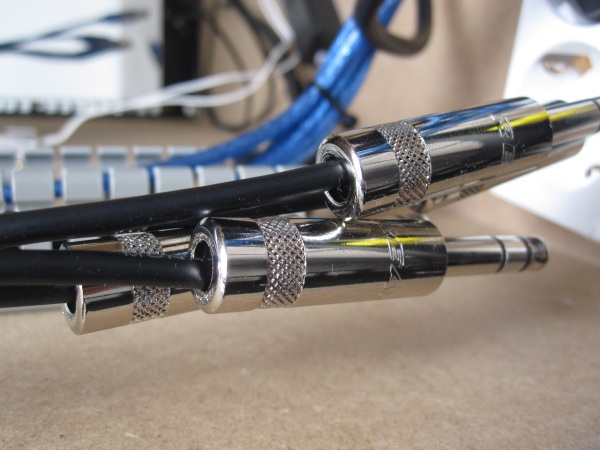
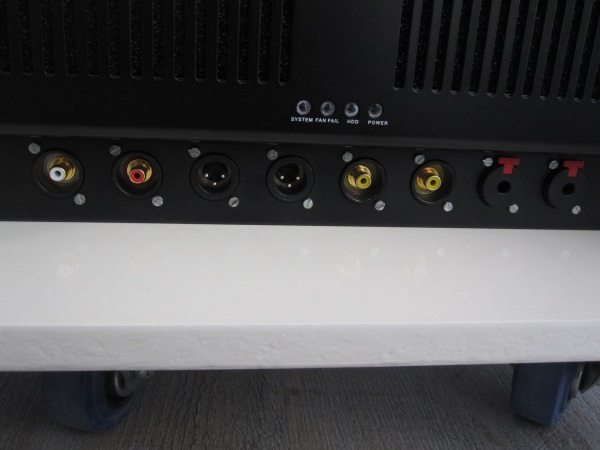
I used yellow RCA connectors for the digital S/PDIF signals to and from my mixer.
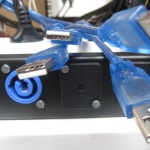
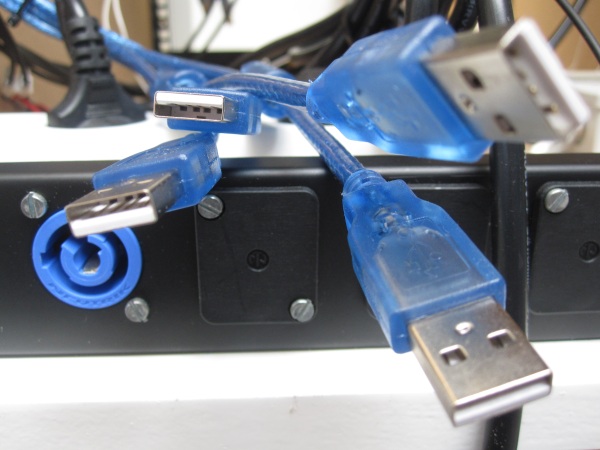
One thing I noticed was that I was missing the easy access to USB connectors of my PC. Although it has two of them at the front, you have to lower down the front bezel which is annoying. So I bought an additional D-Size panel and brought 4 USB connections from the back of the PC to the front of my studio desk.
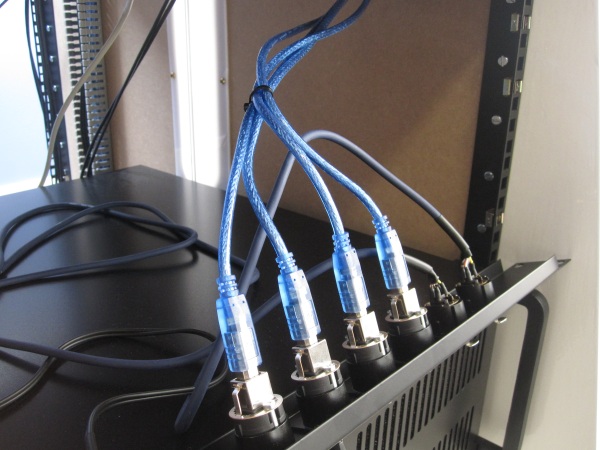
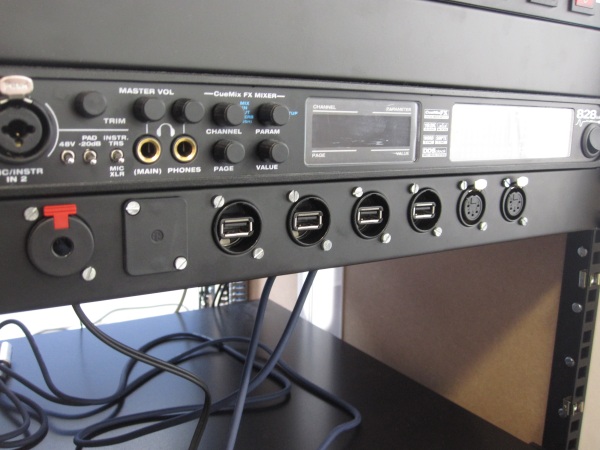
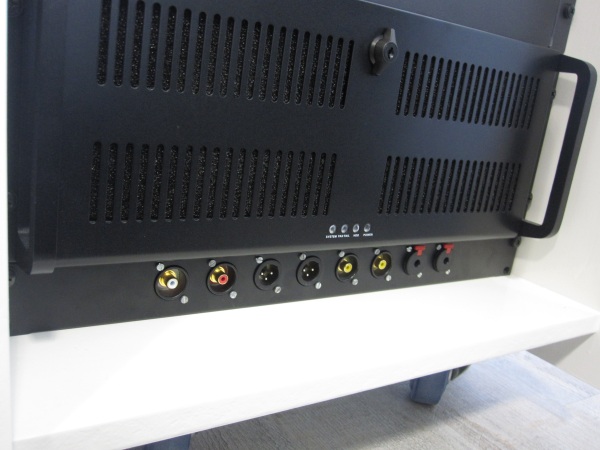
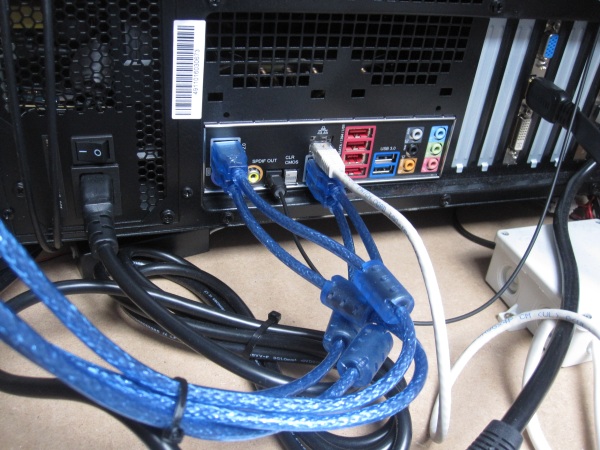
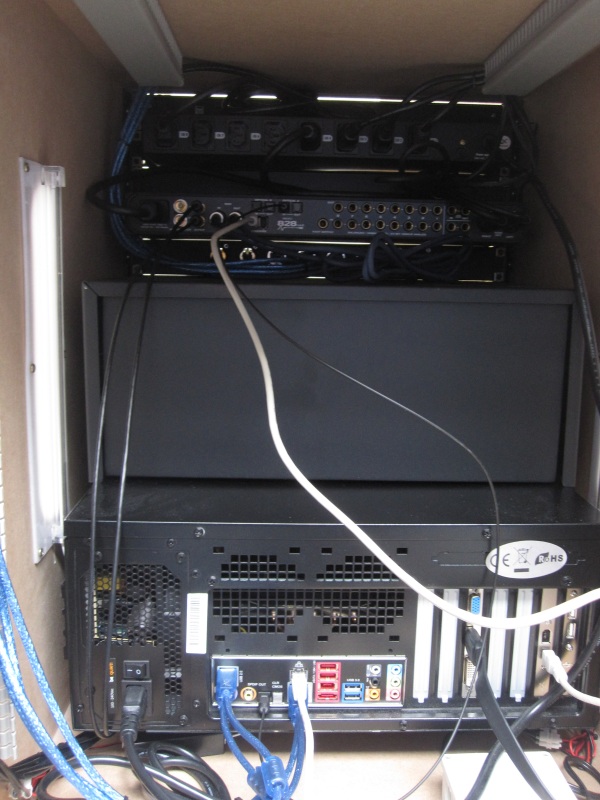
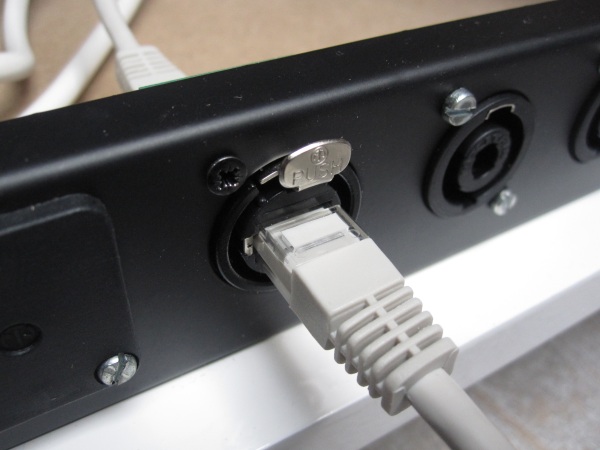
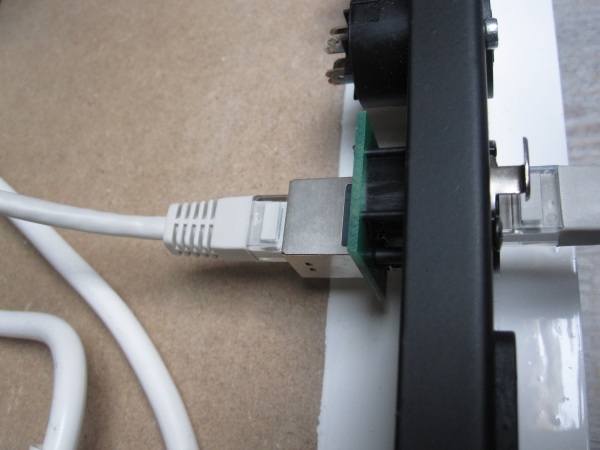
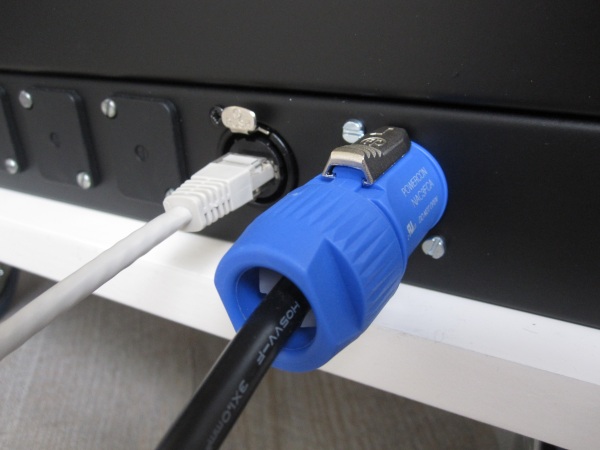
I also build in the Ethernet connectors, Neutrik has simple connectors that don’t require the use of a punch-down tool on a LSA strip. This is just plugging in on both ends, much more easy.
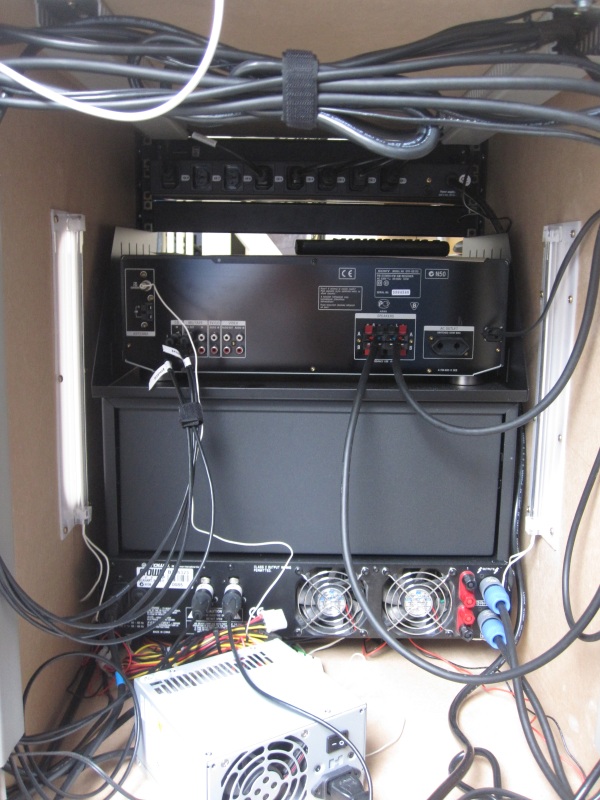
I also connected both amps for future usage and analog radio recordings.
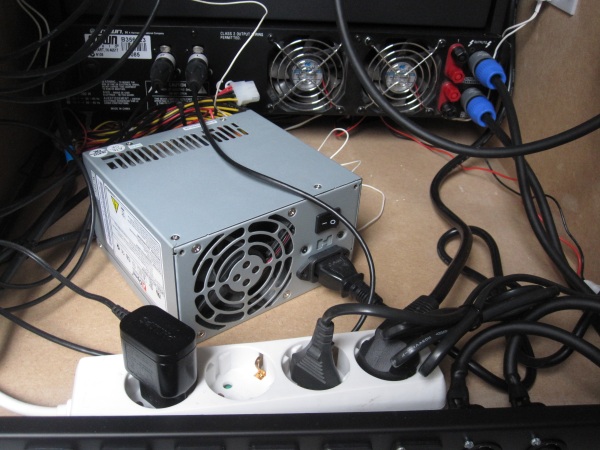
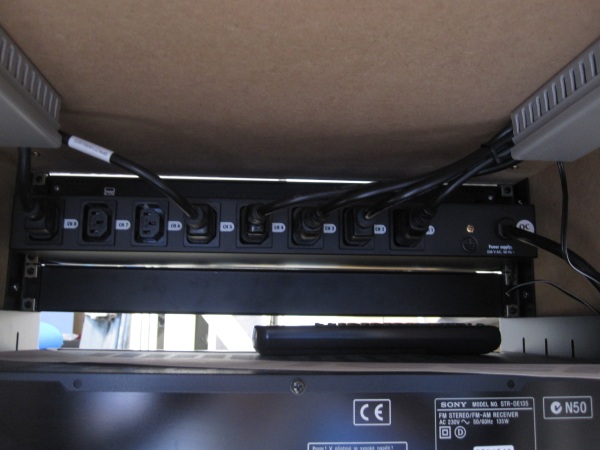
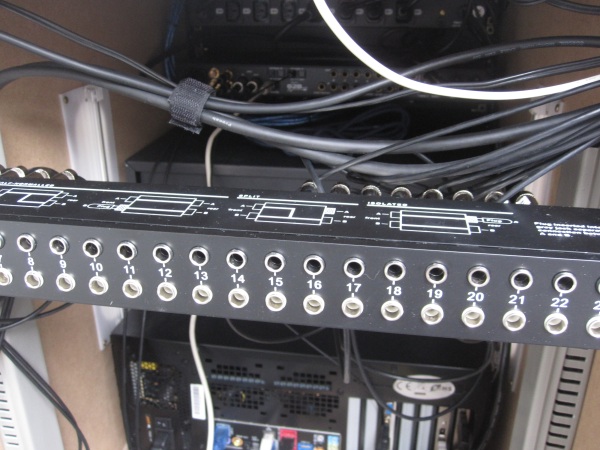
New is the patch panel that is not yet fully connected. I still need to order patch cables to connect the soundcard to the patch panel and actually connect everything together. But that should be easy.
The final result of both racks at the back once closed with blinds.
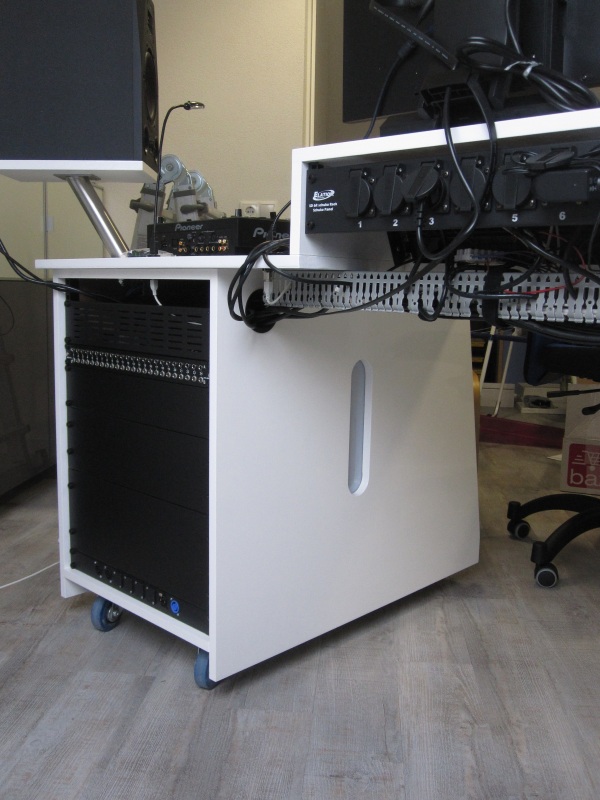
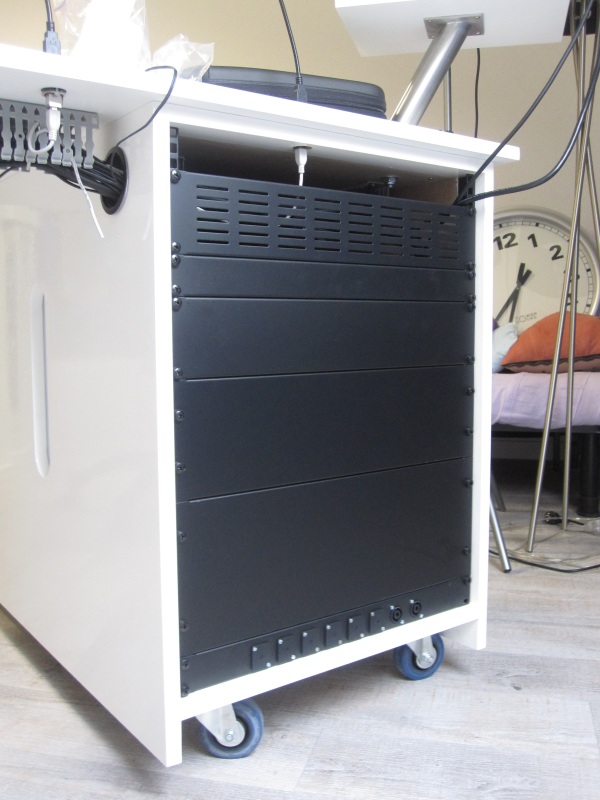
Power on! Network up! Let’s go!
Trackback from your site.