Studio Console Part 12
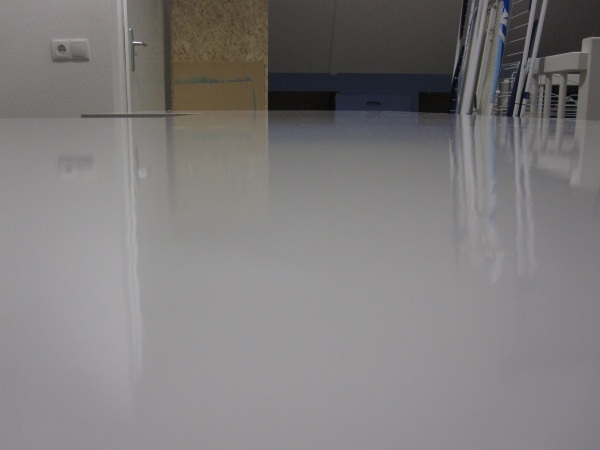
I must say that after this much painting even I start to dislike it. But the good news is, we’re there! I’ve finished everything with a high glossy hard white paint. To make it as glossy as possible it was recommended to me to use a pencil instead of the roller I normally use for painting large surfaces. Obviously that takes much more time but it is also far harder to get smooth results. Even though I have done already a fair amount of painting in my life, I failed to get the perfect result I was aiming for. It’s not a complete failure, but there are noticeable imperfections. Probably not visible on the pictures, but when you take a good look in real life you can find them. I’m not disappointed, just a learn moment for next time. Anyway, here are the pictures of the high glossy studio desk:
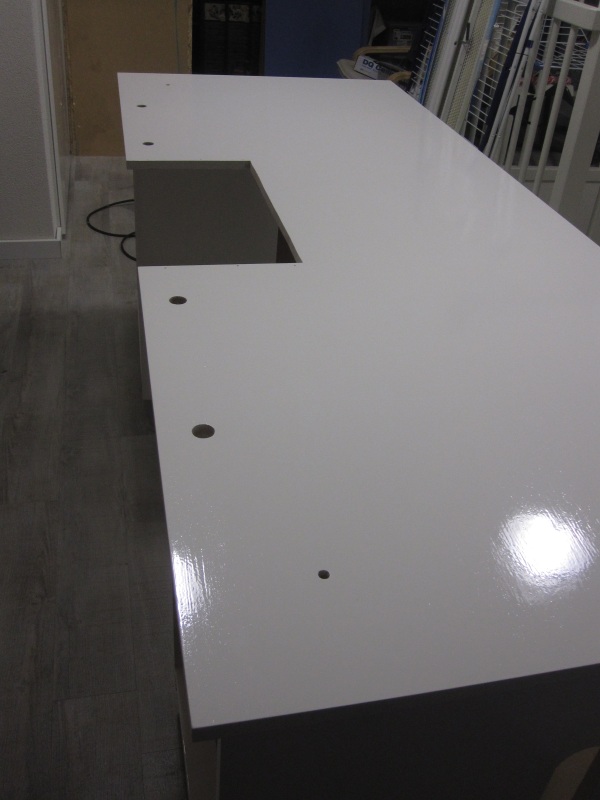
After all the painting it is time for putting everything back together again. But this time it’s for real. There will only be a next time when I’m moving out.
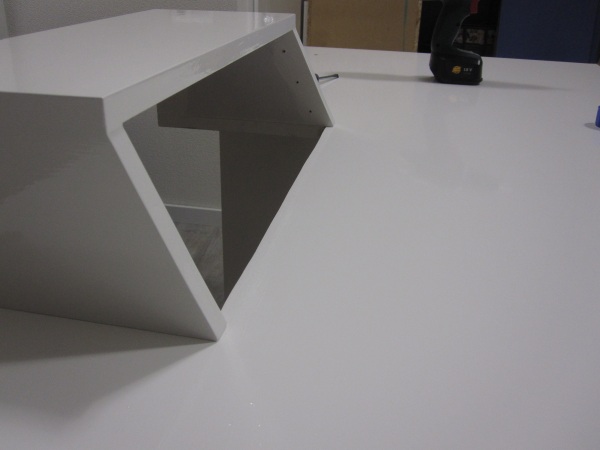
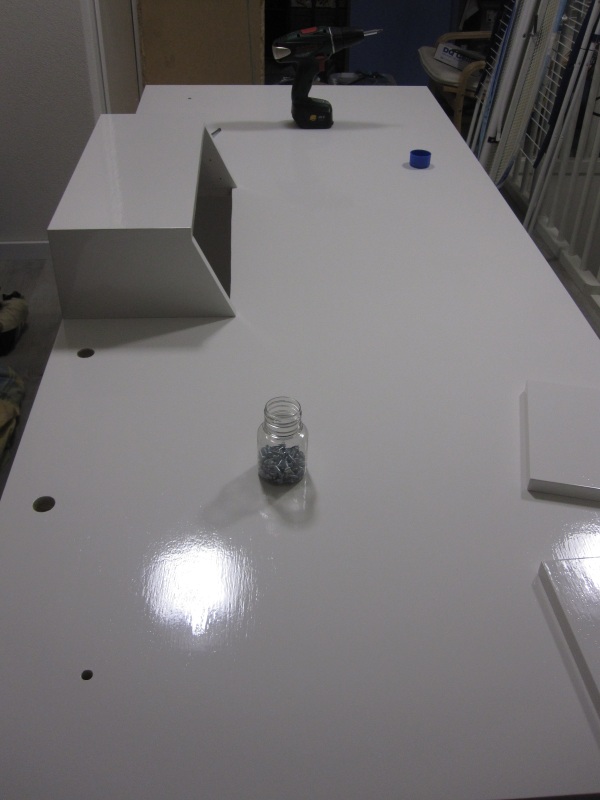
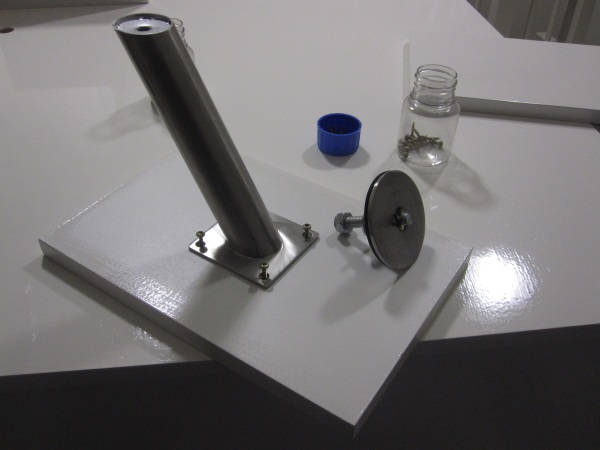
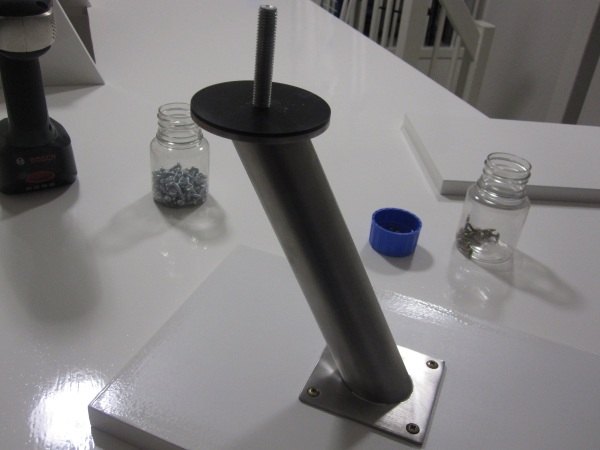
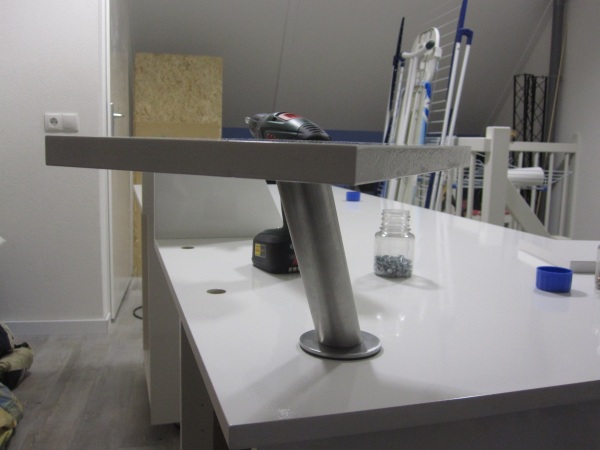
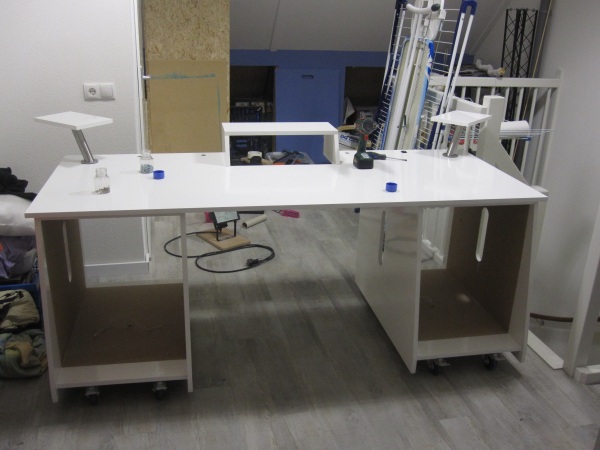
Then the wood construction looks like this:
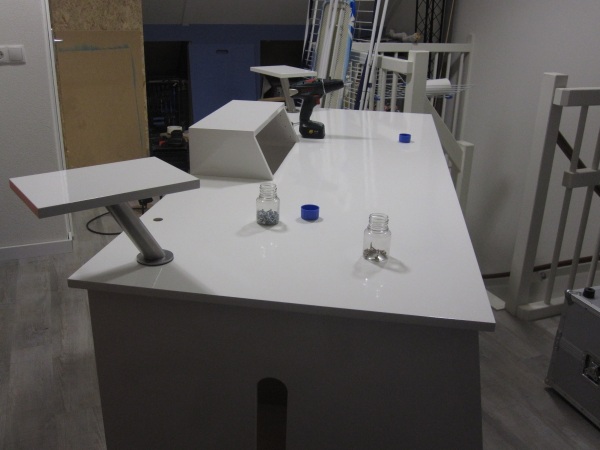
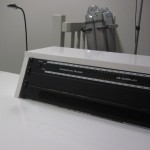
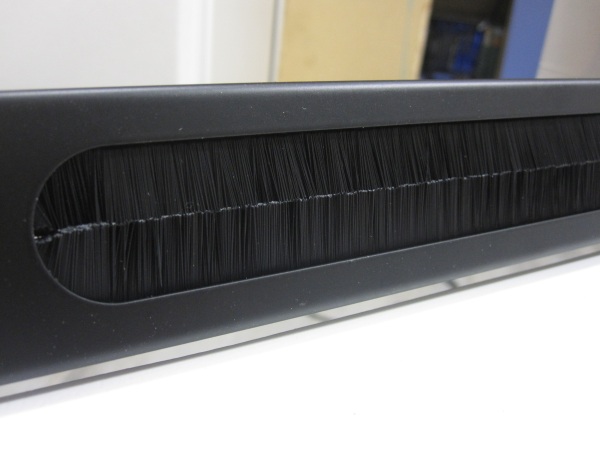
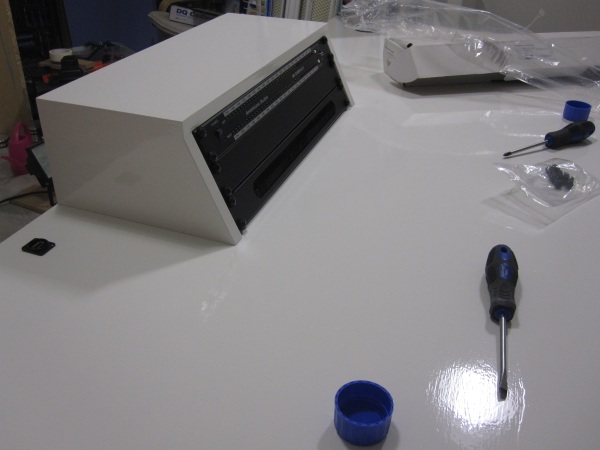
Time for putting in the 19 inch rack material. For passing cables through to the desk surface I mounted an brushed panel. Gives a nice closed front rack, but gives still the flexibility to pass cables easily.
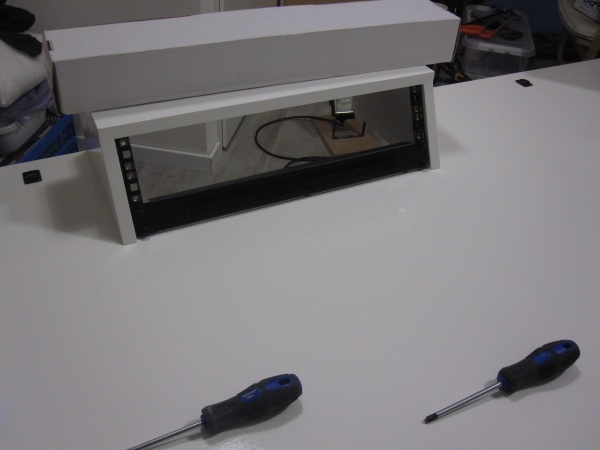
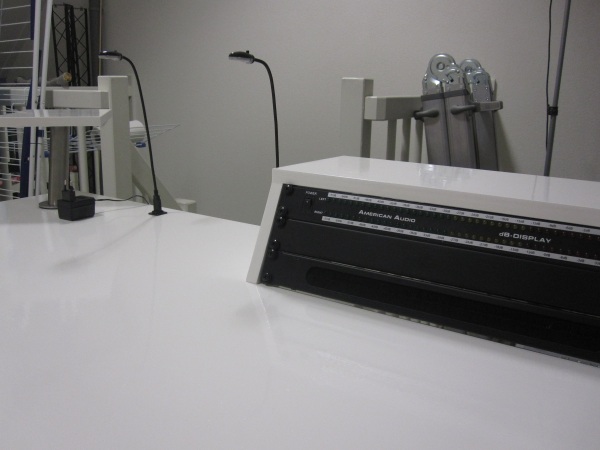
The LED dB meter is on top. Between is currently a 1 HE blind panel which still need to be equipped with switches for switching the low voltage lighting and equipment on and off. However, I’m gonna seek some help for drilling the large holes in the metal.
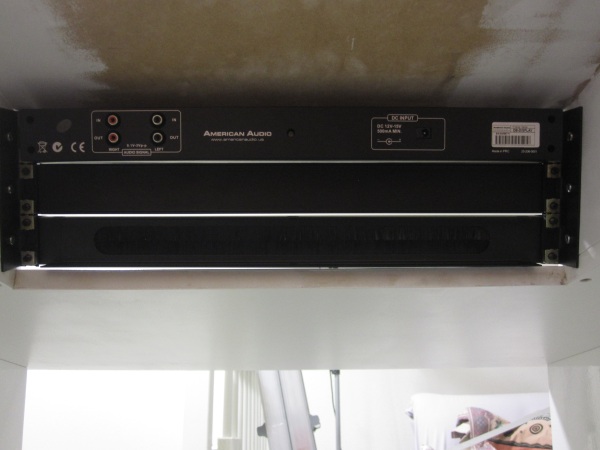
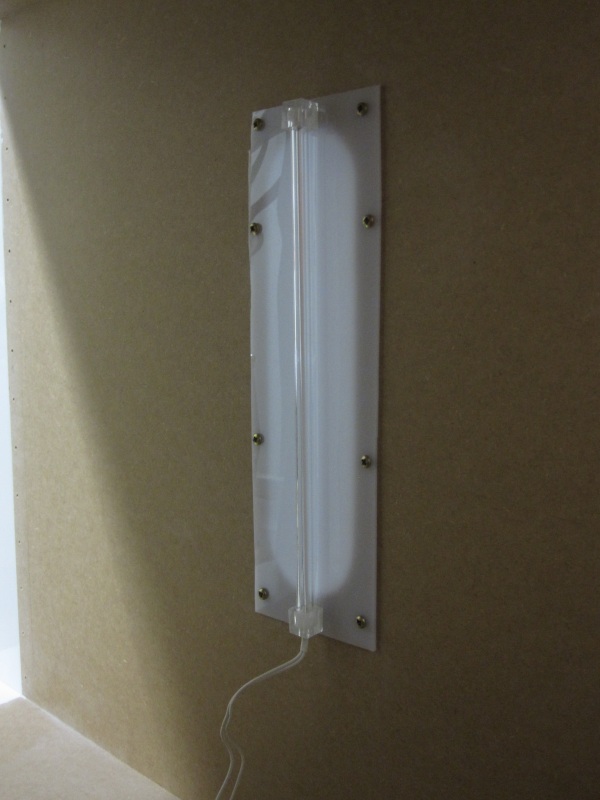
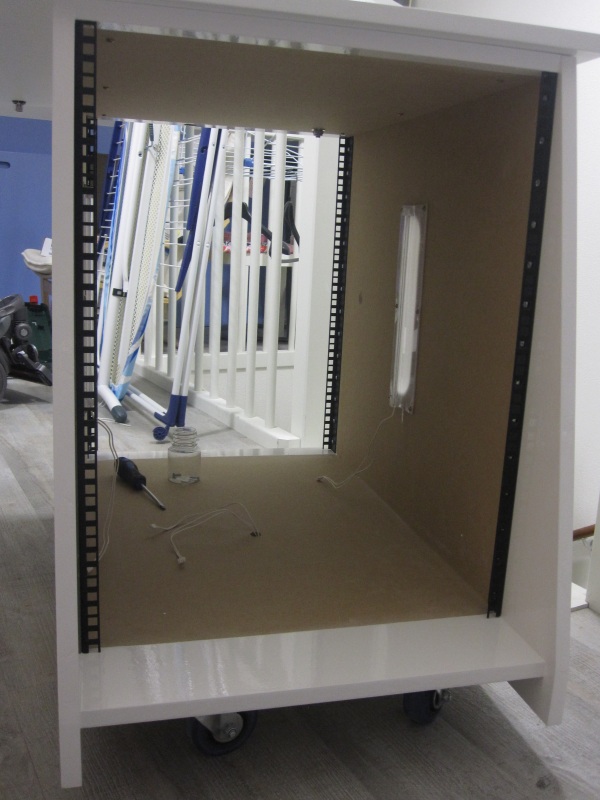
On top of both racks comes a multi-color led rack light. More eye candy then added functional value but hey, what the hack. My studio console, my party.
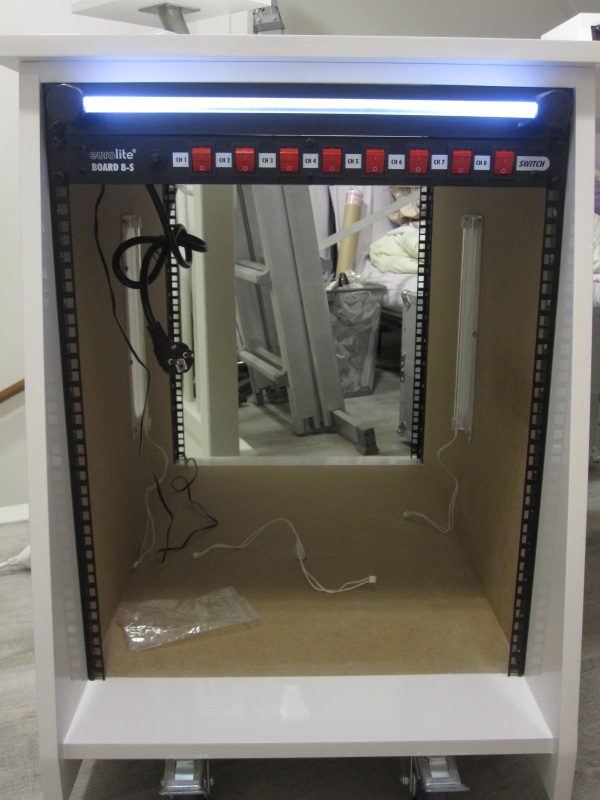
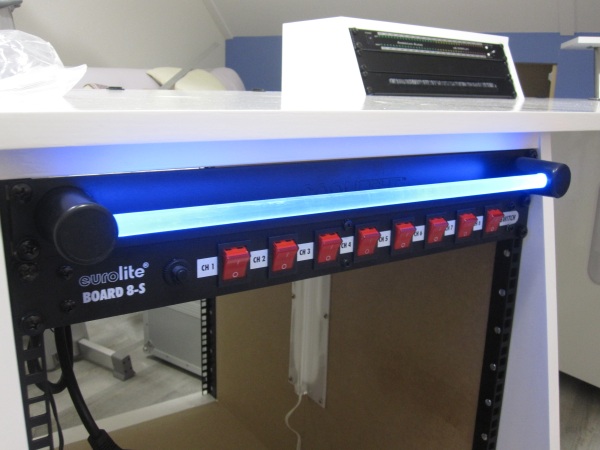
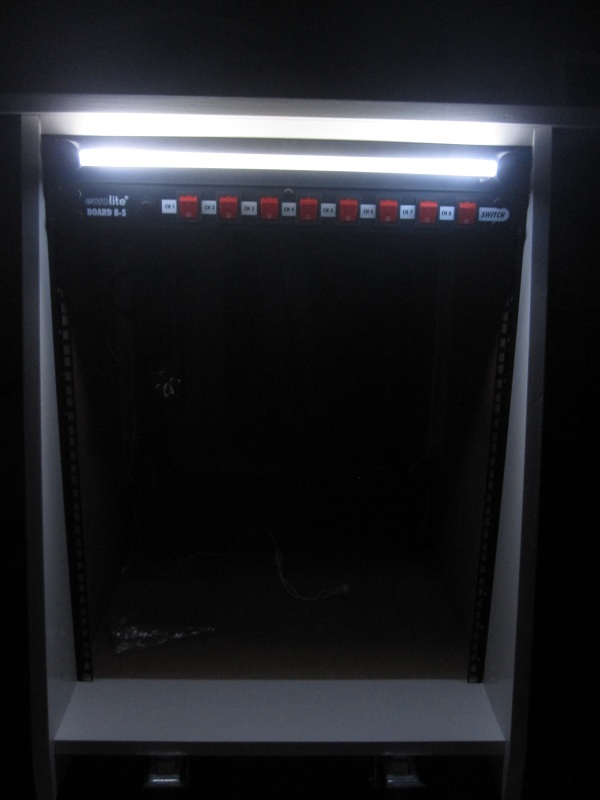
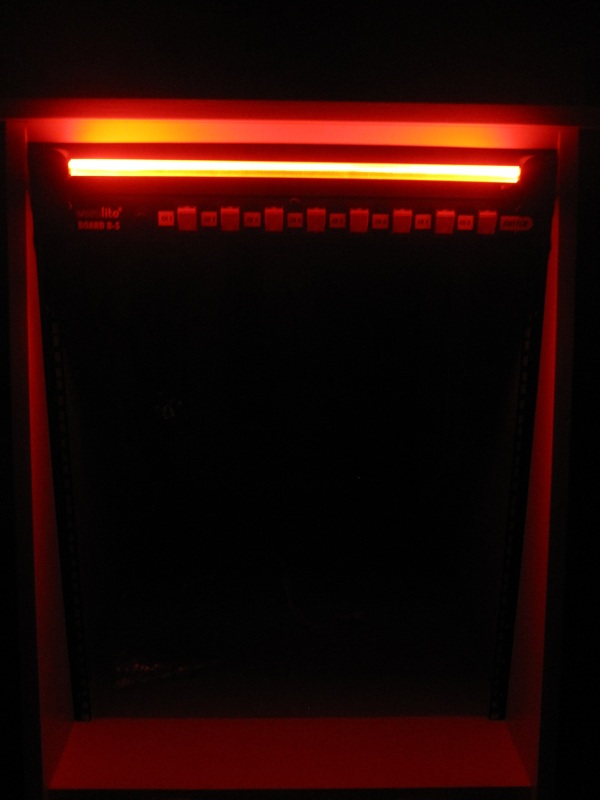
A final glance of the work surface.
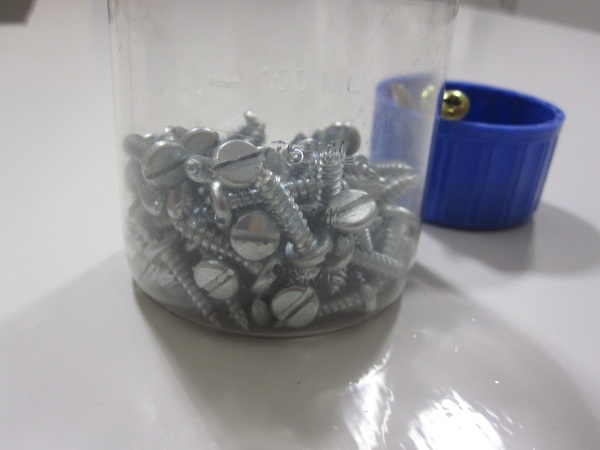
I’m still waiting for the rack screws, most of them are still in back order but according to my friends from Bax-Shop they should be arriving this week. More updates soon, so stay tuned for more…
Trackback from your site.