Studio Console Part 14
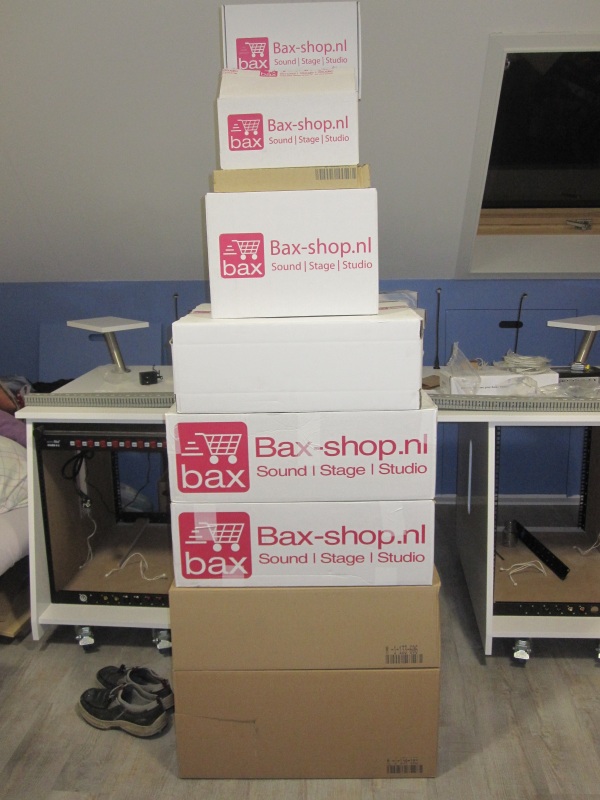
I believe I’m no longer friends with the delivery man. Last week was definitely a peak in packets delivery due to all kinds of back-orders arriving at once. So bad news for the mail man, good news for me.
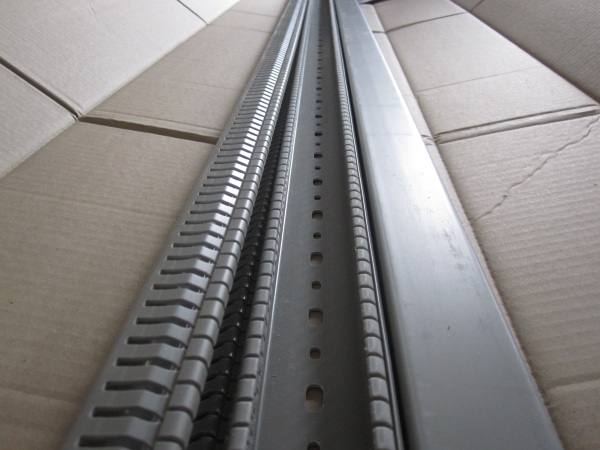
To keep wiring in the racks clean and have a way of running wire between the racks I ordered a few meters of cable chute. I like this type because you can enter and exit the wires at any place and also keep them together while the cover is not on it.
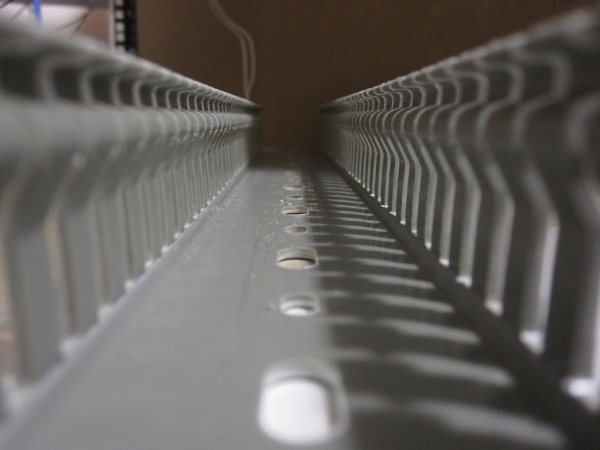
But first I had to drill holes for the cables to get out of the 19 inch rack in the first place.
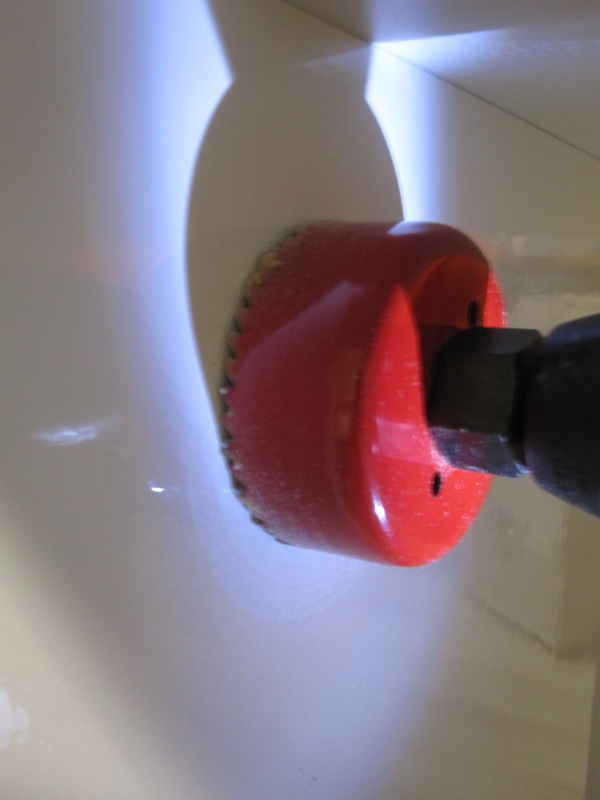
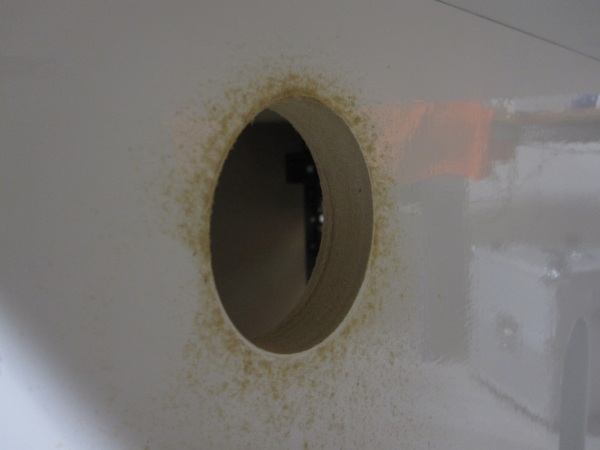
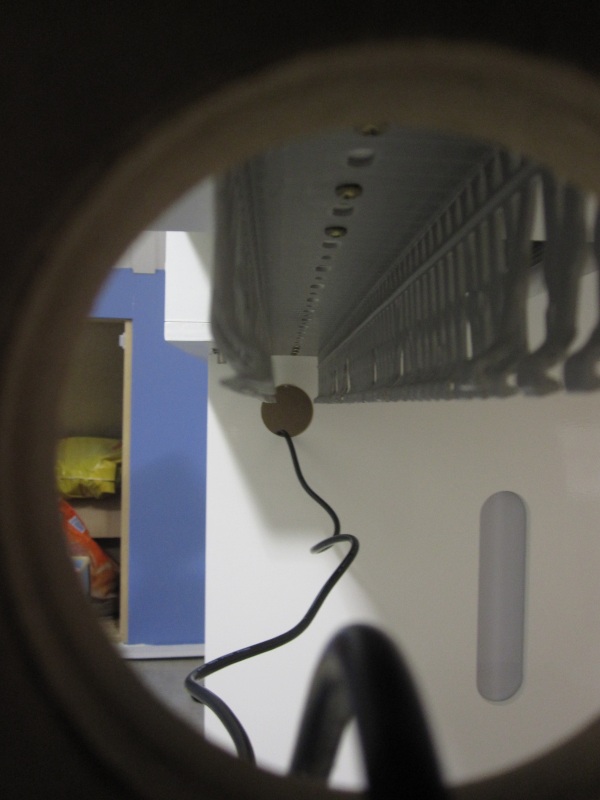
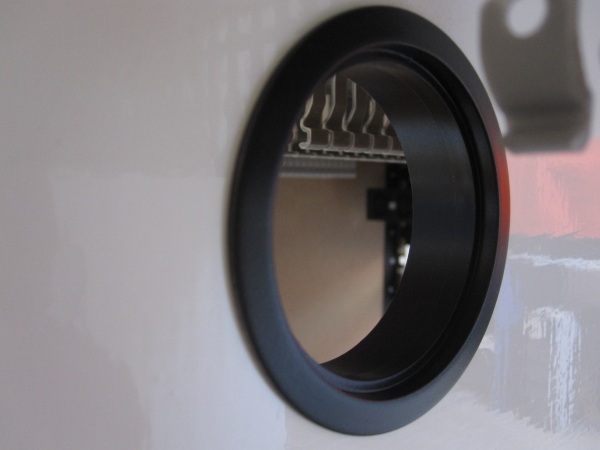
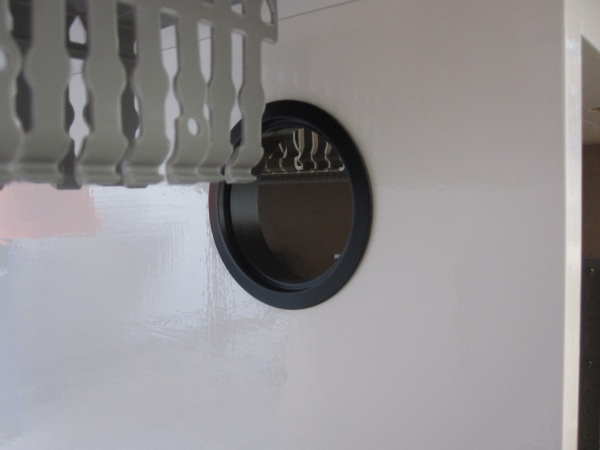
I needed a clean cover for this in either matching white or black. Apparently these simple plastic things cost you a lot of money, if you are able to get them at all. I only found them online and then it is always tricky with the colors. So I decided to get a few cheap from Ikea and paint them black myself.
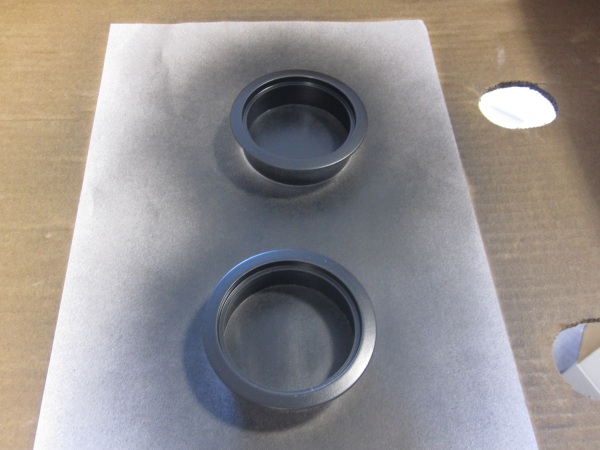
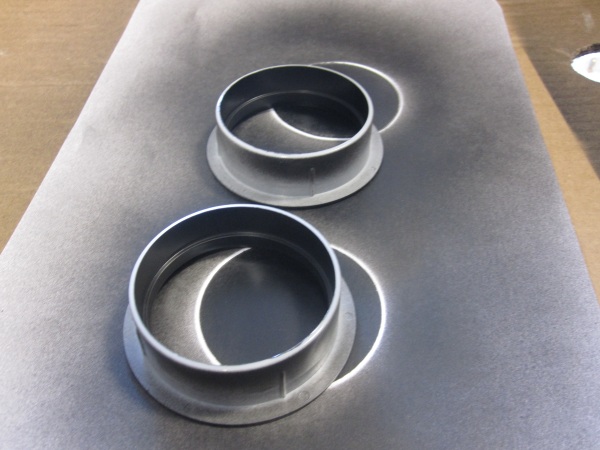
I thinks the end result is great and still beats any price I found online.
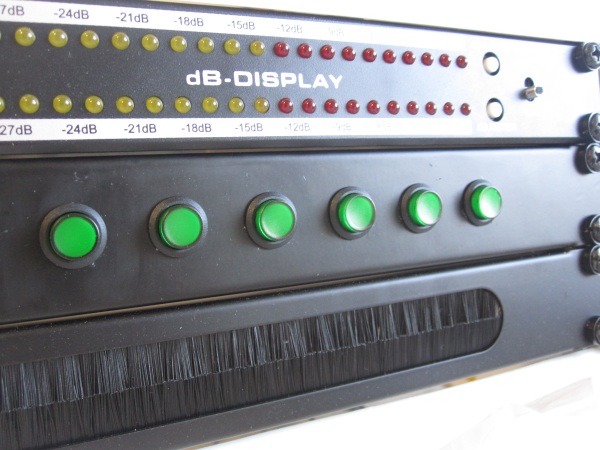
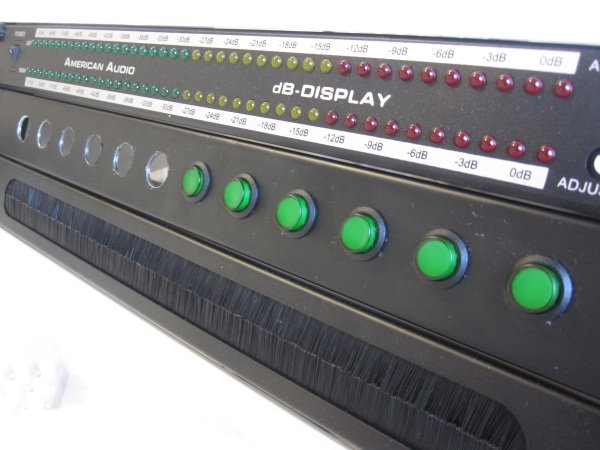
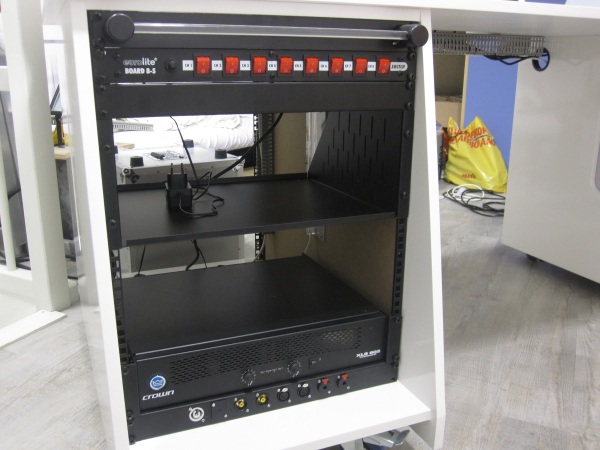
In my studio console are the blue CCFL lights, the rack lights and the gooseneck lights on top. They will all draw current from a separated computer power supply. But in order to switch things on and off I still needed a switch panel just for that. So I found these beautiful switches with build in LED lights and planned on putting them in a single unit height blanking panel.
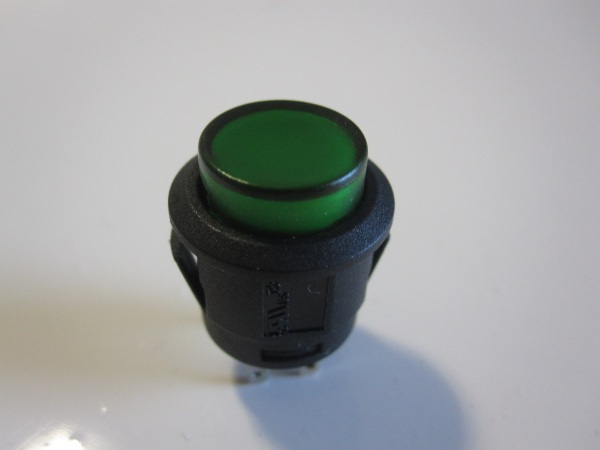
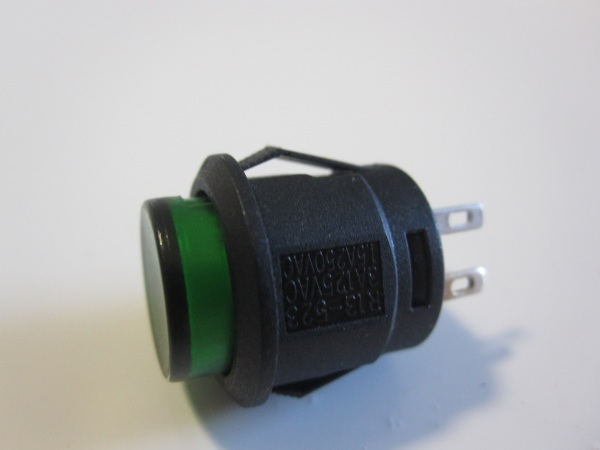
The problem is that they require 16 mm holes, which is beyond my normal drill accessories. And for good results you should use a column-type drill. So I went to my friends at Aviotech who have the proper equipment and experience with these things. So I spent a morning drilling slowly 12 holes. I didn’t bring my camera, so no pictures.
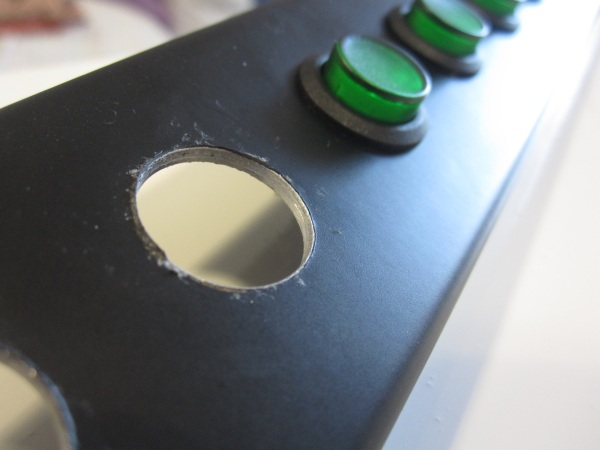
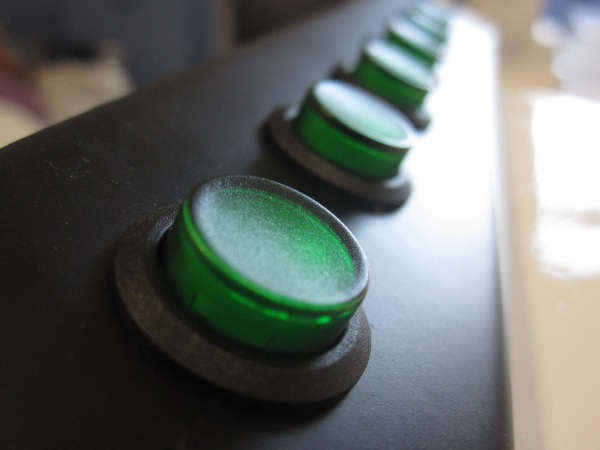
I’ve ordered the remaining 6 switches, so hopefully I can put these in later this week.
My power switch panels are equipped with euro-sockets, which is for most hardware fine. However the low voltage hardware that comes with external adapters do need a wall socket to be plugged into. So I planned a 2 HE 19 inch panel with 6 sockets on the back of 19 inch rack. I know there are pre-drilled panels in which you can mount your own schuko sockets or have them pre-configured. Since the price difference was only a few Euros I went with a pre-configured panel from Accu-cable.
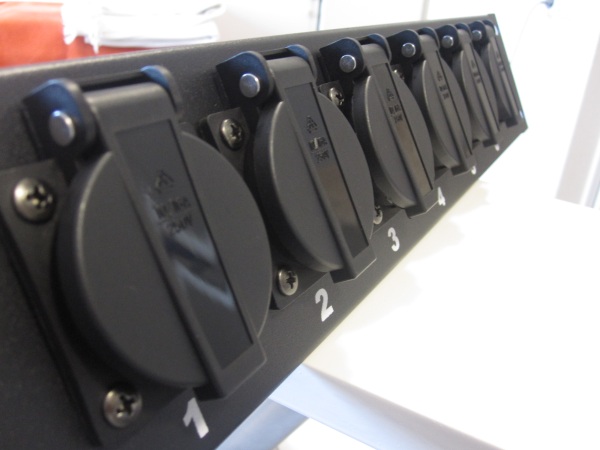
I do regret this a little bit, since the mounting holes are in no way 2 HE mounting compatible, so the final mounting is not perfect. But this is on the back, so that does make it a little less of a problem.
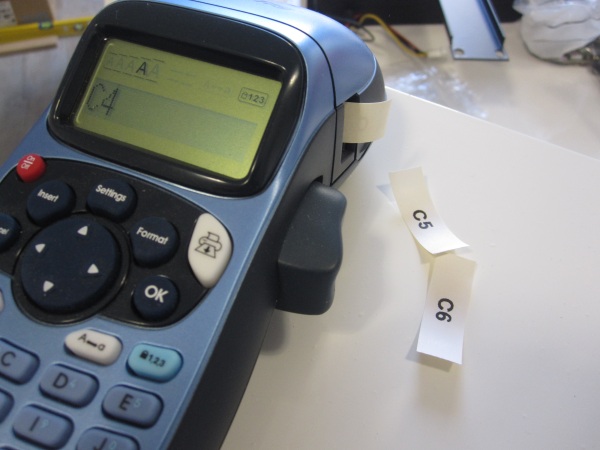
Time for labeling the cables and mounting them to the sockets.
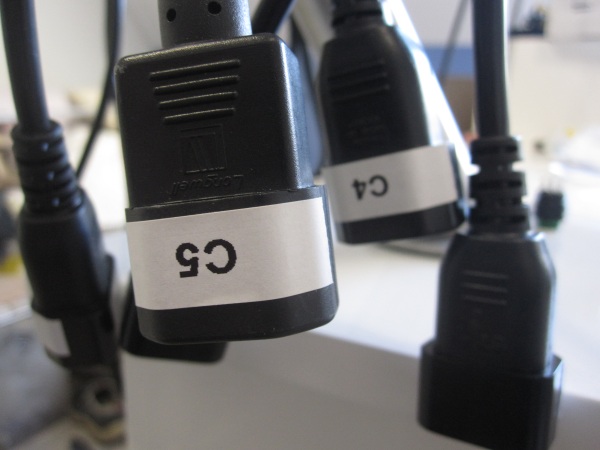
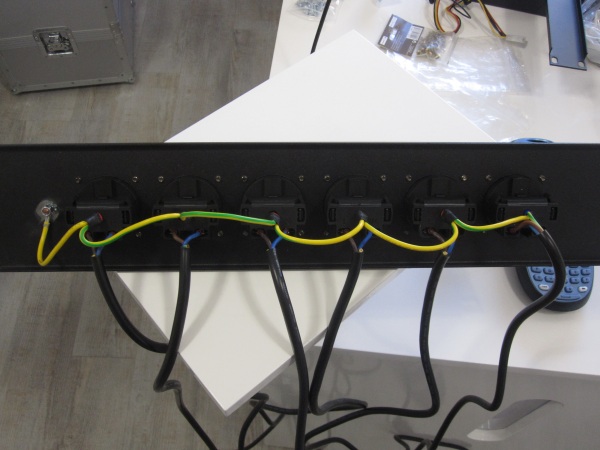
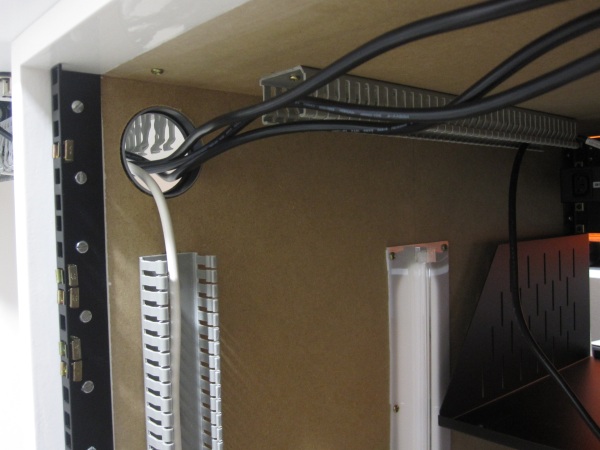
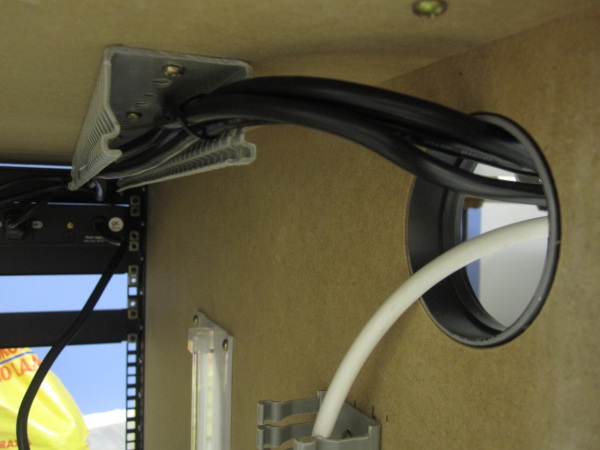
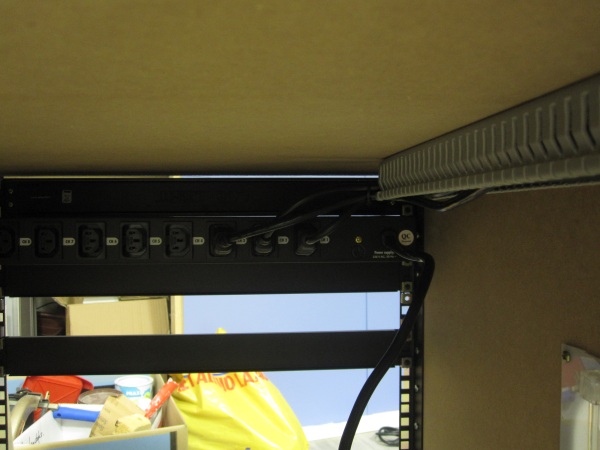
You can see that the panel was supposed to be aligned with the top of the rack profiles, but due to the strange hole distance it isn’t.
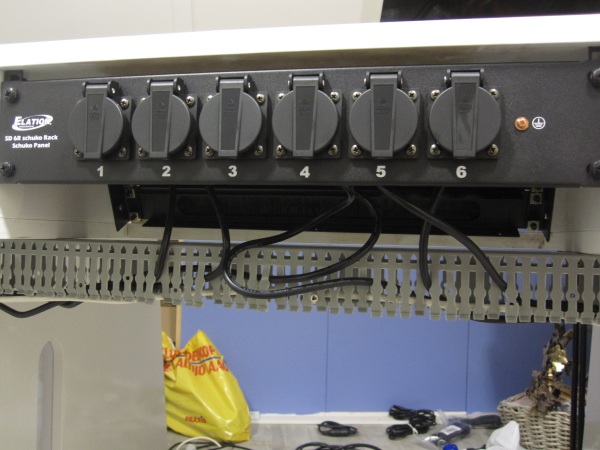
Main power is almost done, only need to solder the cables to the PowerCon connector. This week is probably going to be soldering week.
Trackback from your site.