Studio Console Part 2
The studio console/desk no longer only exists as a design. This weekend I’ve worked on the two 19″ racks. The basic structure has been finished and needs to be prepared for initial painting. Also I still need to order the 19″ rack rails which should fit according to their specifications. Anyway, here are the pictures:
It all starts with a lot of wood, most of it already cut at the shop since they do have a nice sawing table, and I don’t.
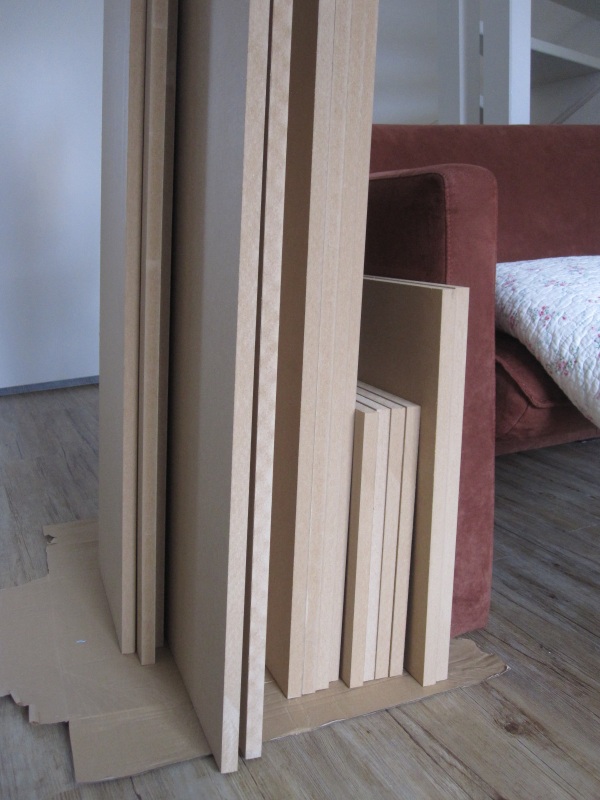
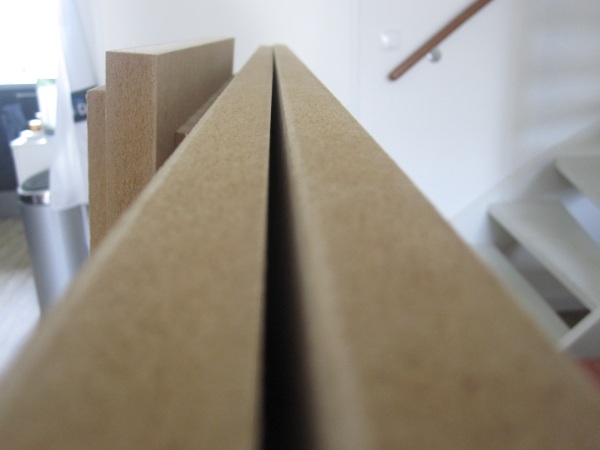
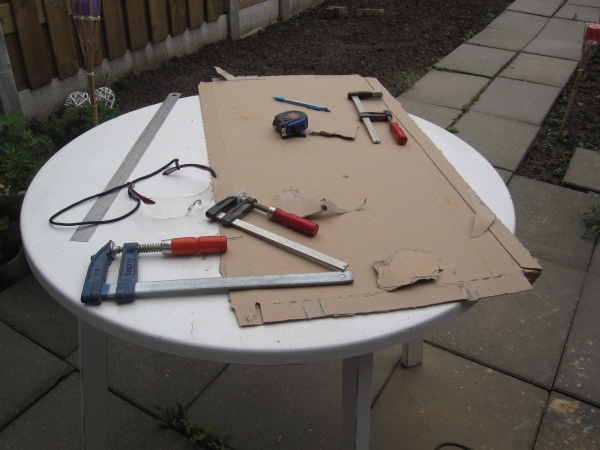
I decided to do this kind of sawing outside since the amount of dust is a little hard to control in home. I did the rest inside because I wasn’t really sure about the weather.
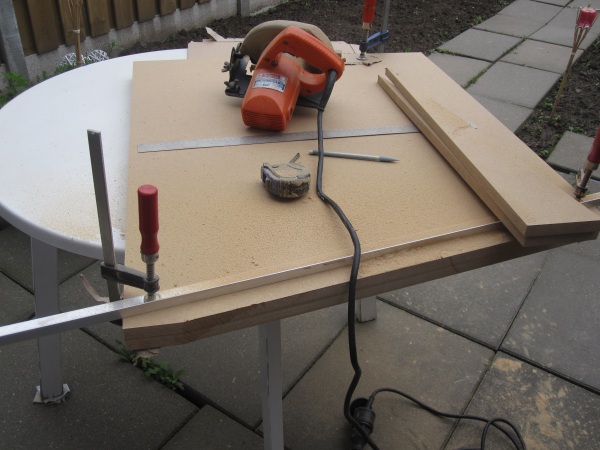
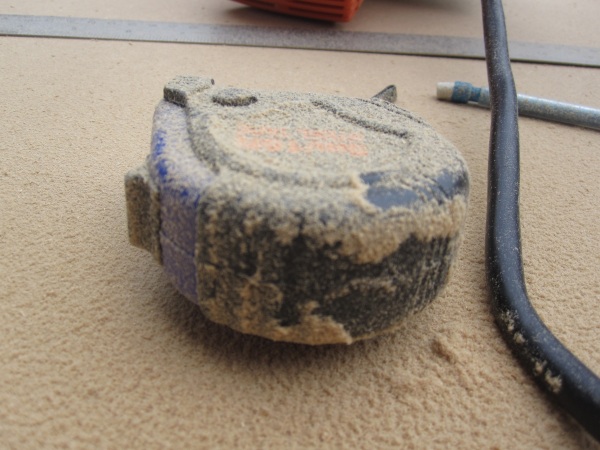
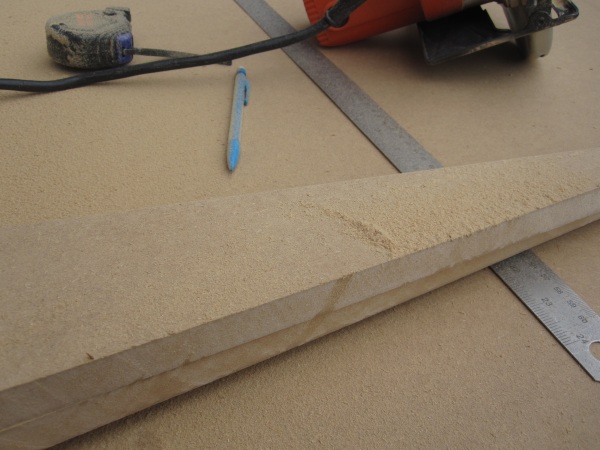
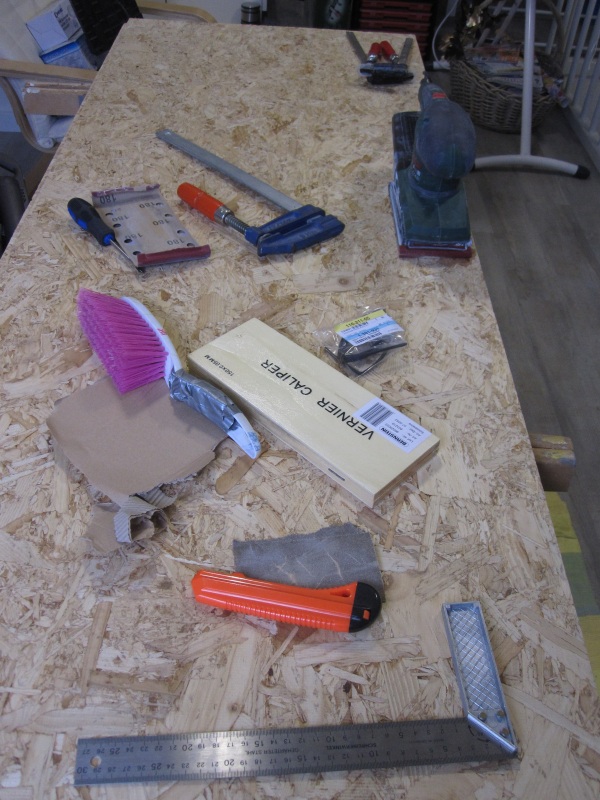
Improvised a workspace:
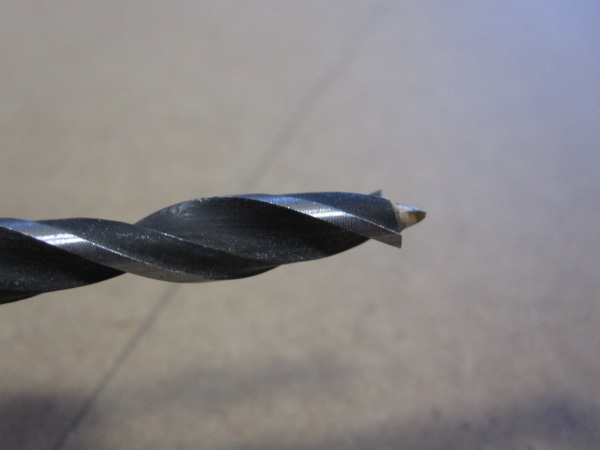
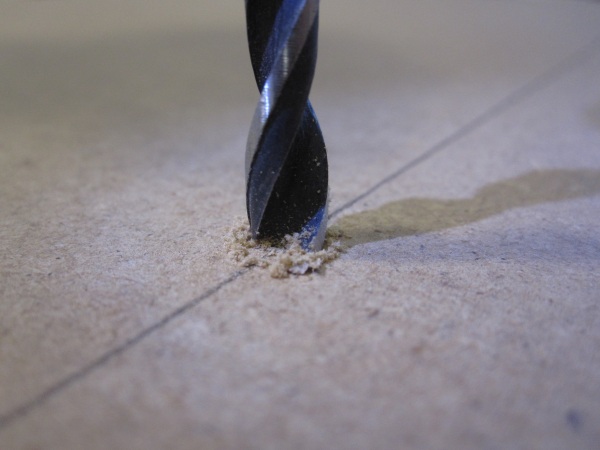
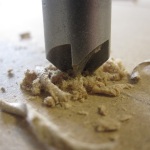
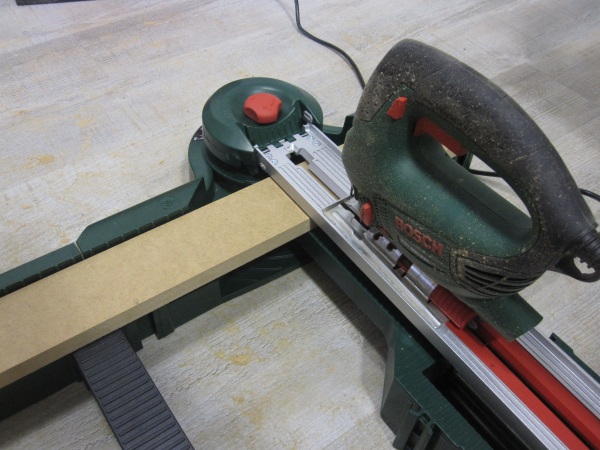
Started drilling holes for the larger drill saw which isn’t so sharp.
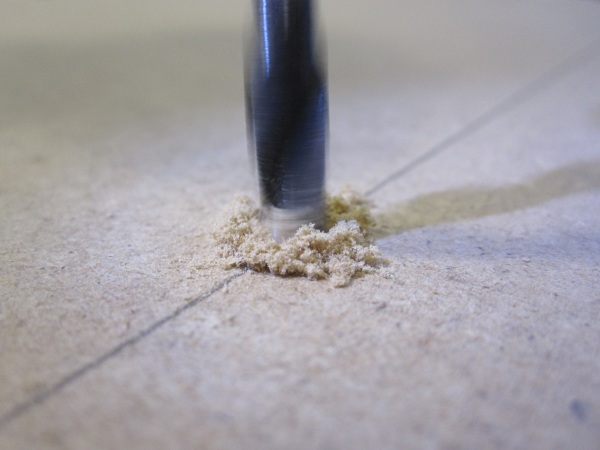
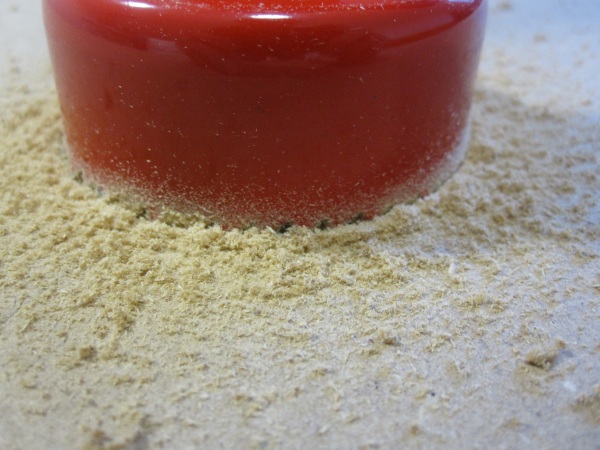
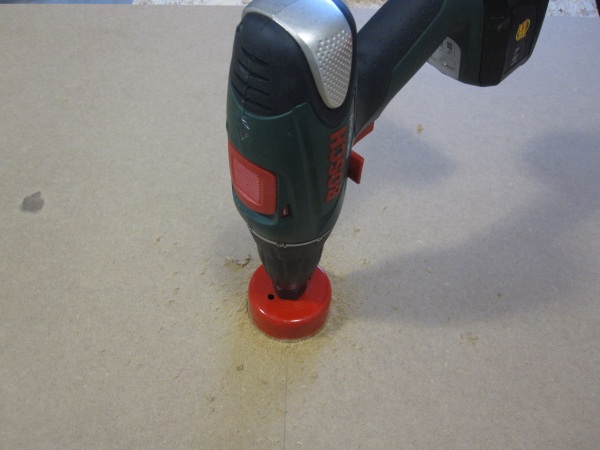
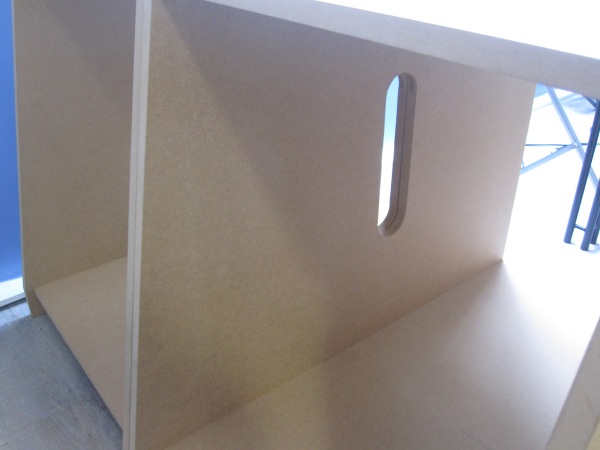
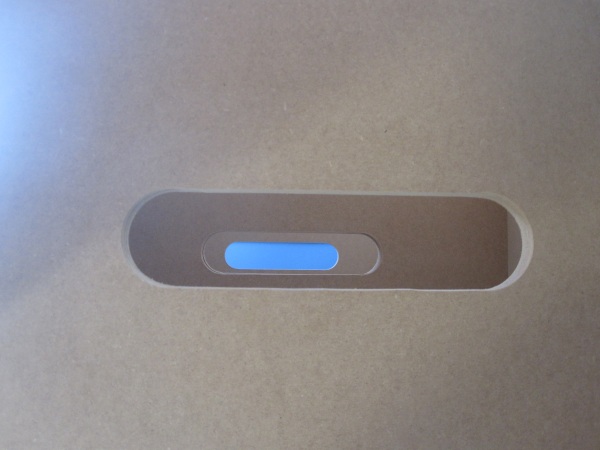
This is part of the cut-outs on the sides of the rack. They will have plexiglass on the back and some kind of blue lighting behind them. Nothing functional, just visual.
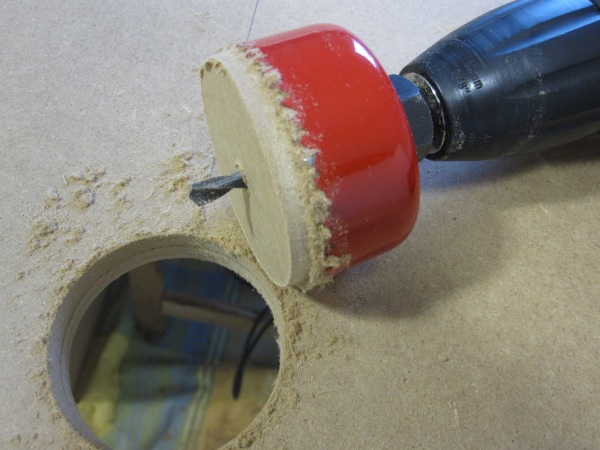
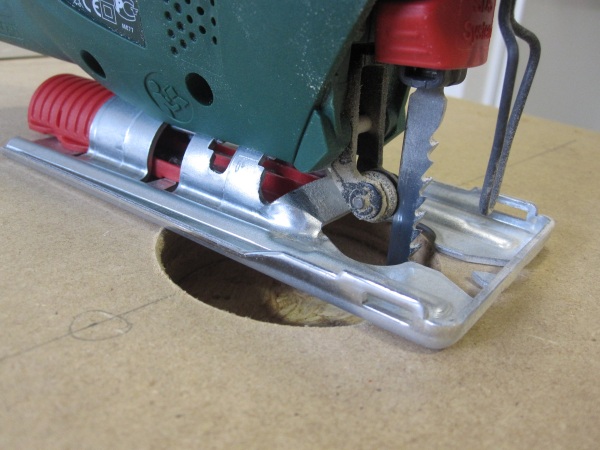
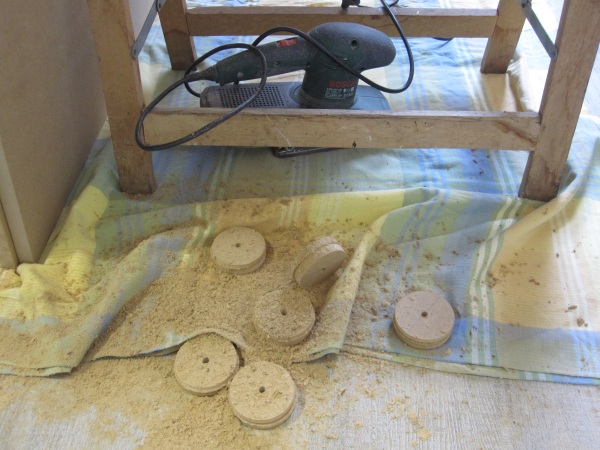
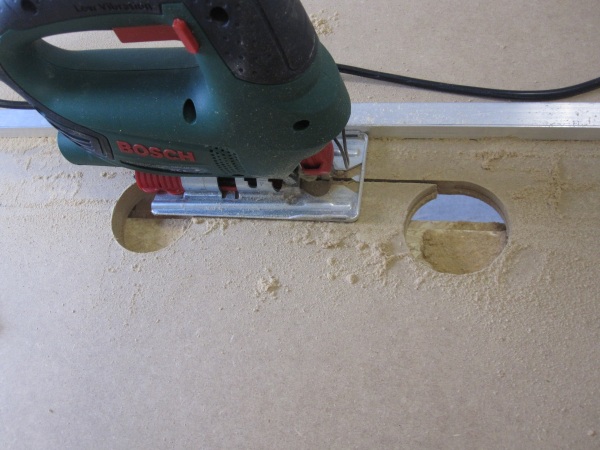
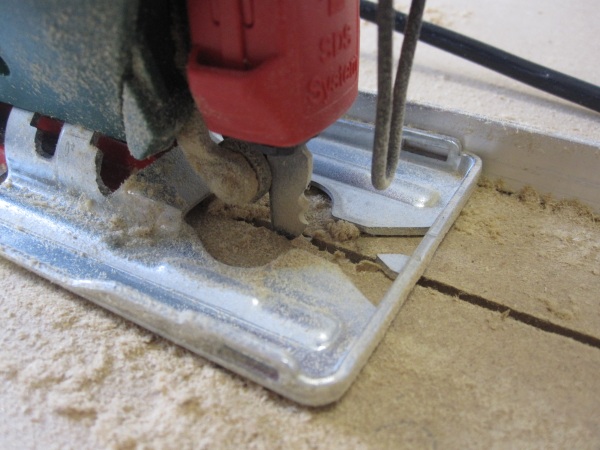
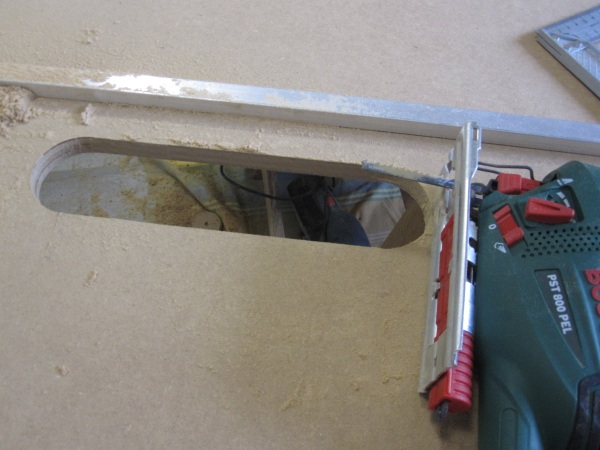
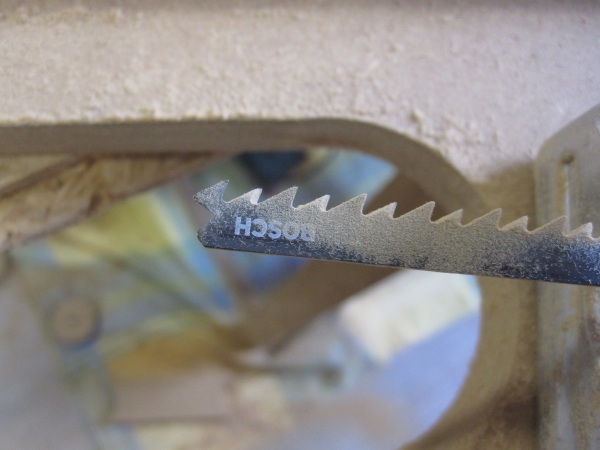
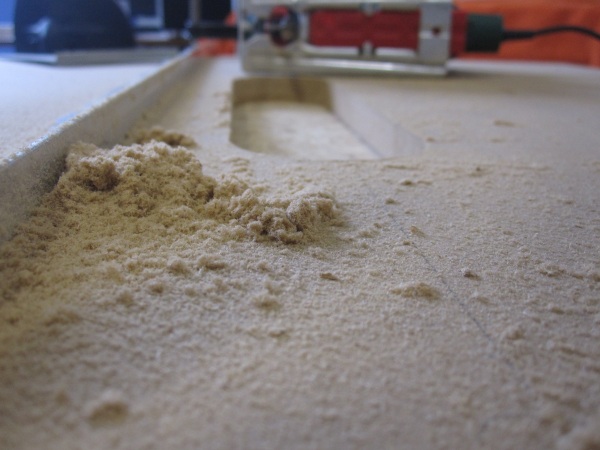
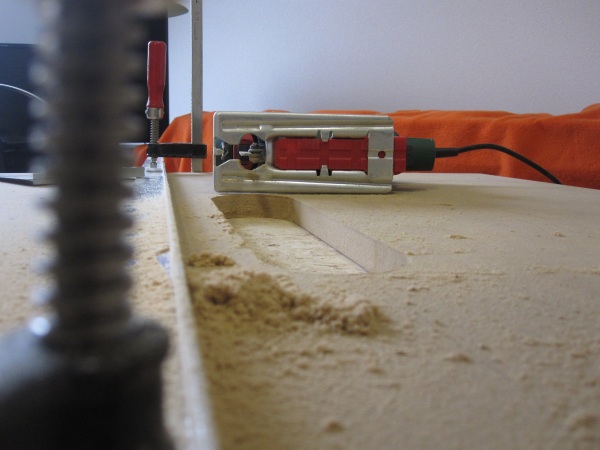
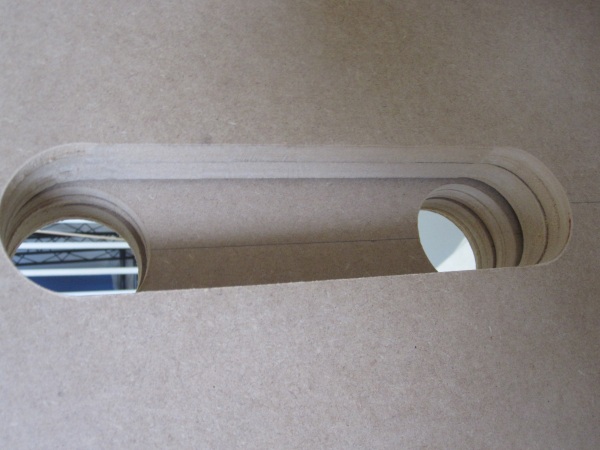
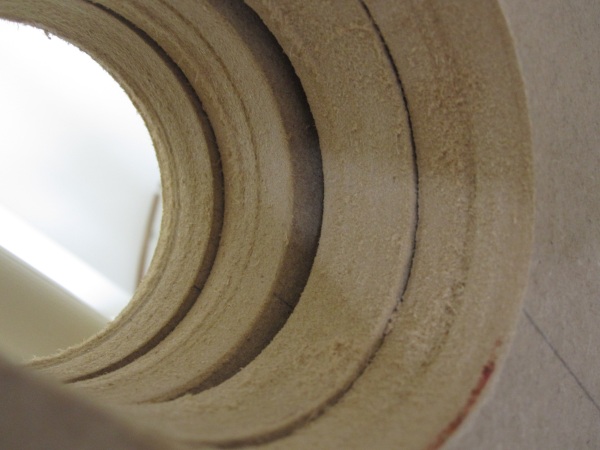
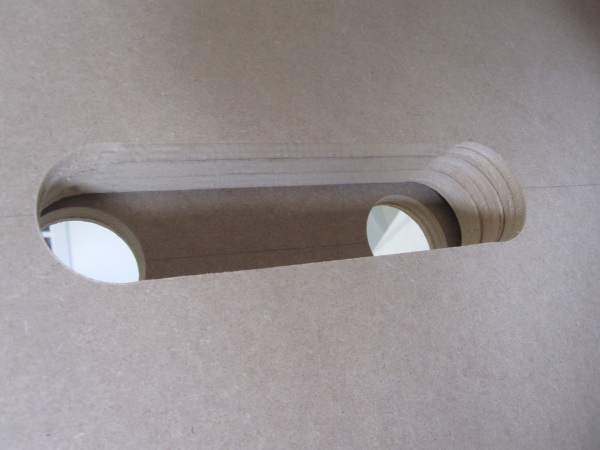
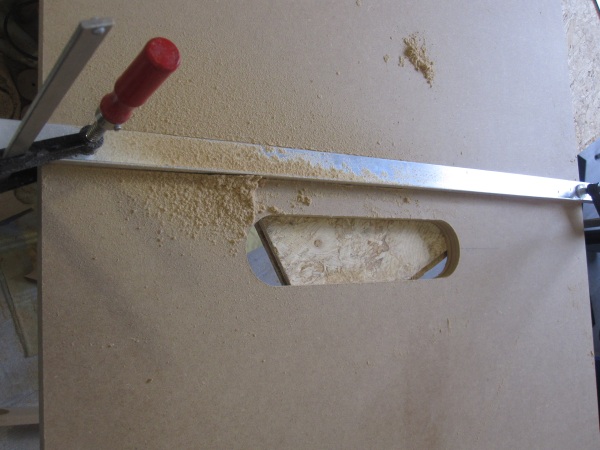
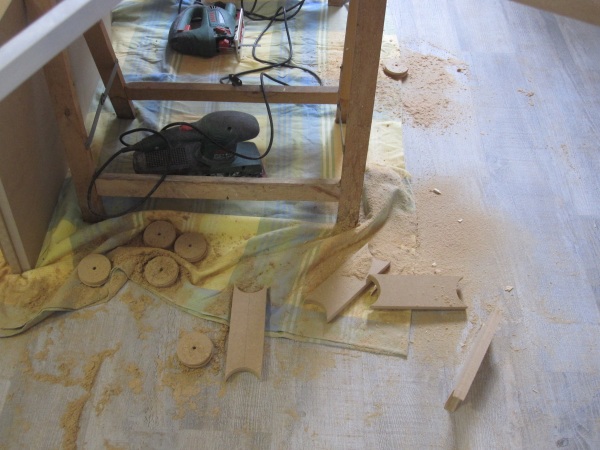
After a lot of drilling, sawing and cutting I finally got to the point of having 4 side panels ready for assembling.
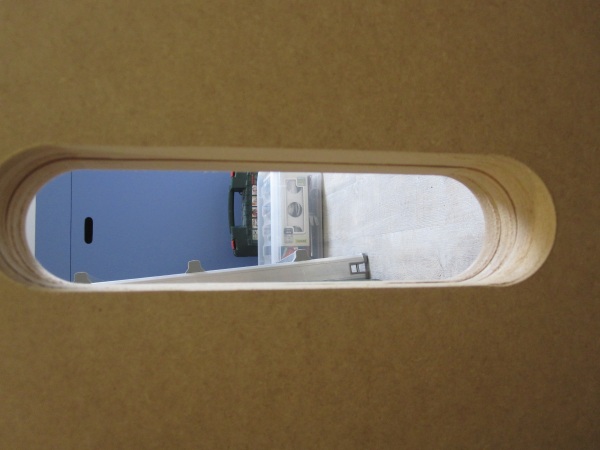
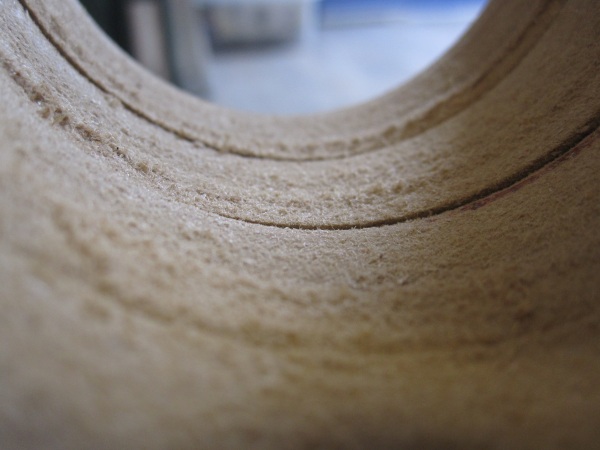
I got thirsty :)

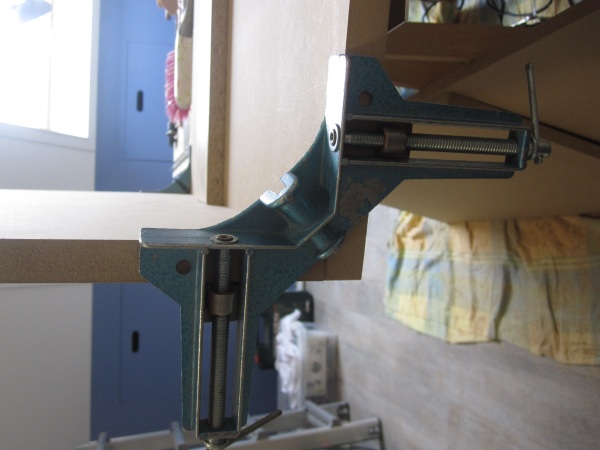
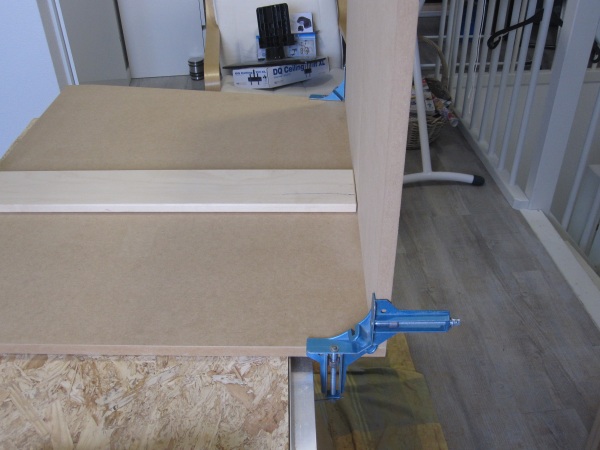
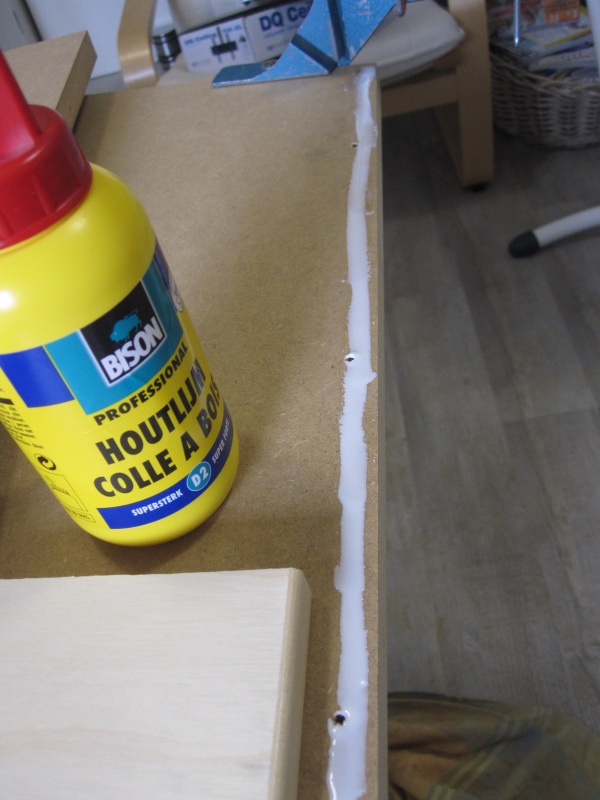
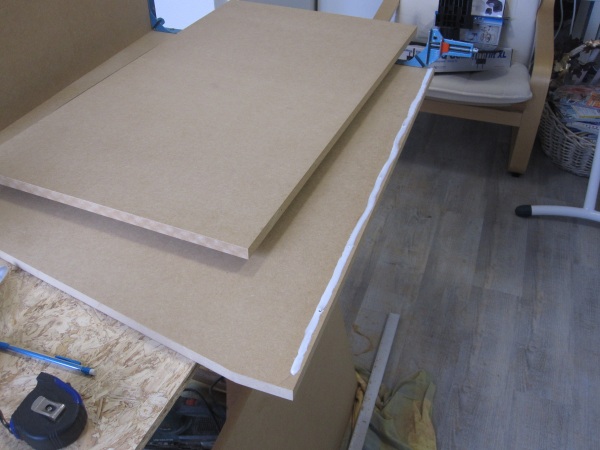
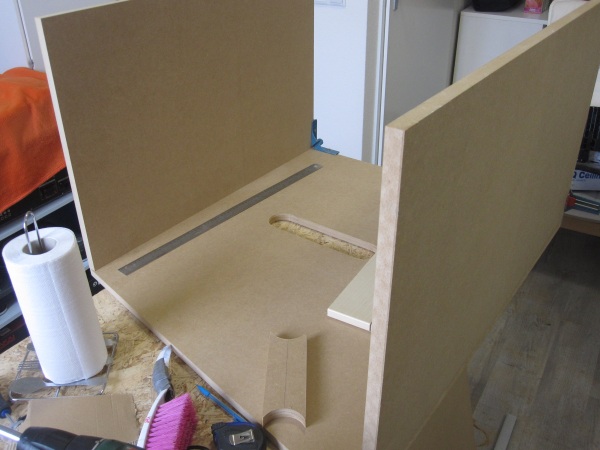
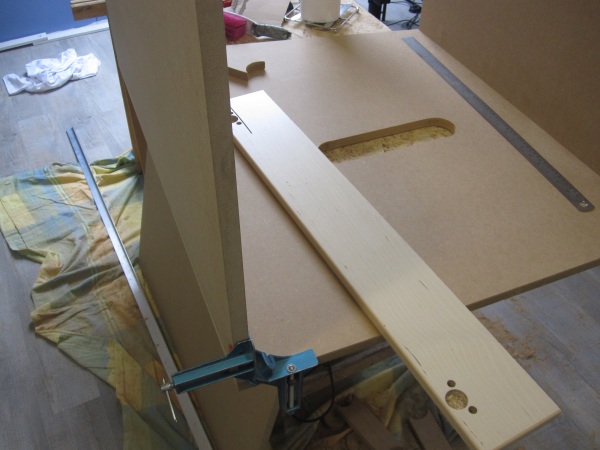
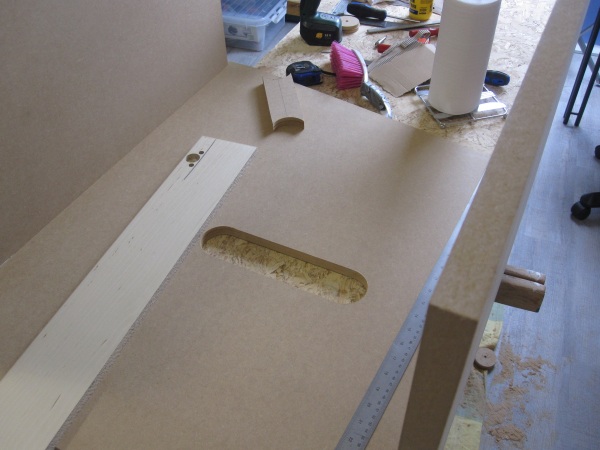
This is where it goes wrong. I accidently mounted this panel at the bottom, but it should have been a little more up. Fortunately I discovered my mistake early and was able to correct it.
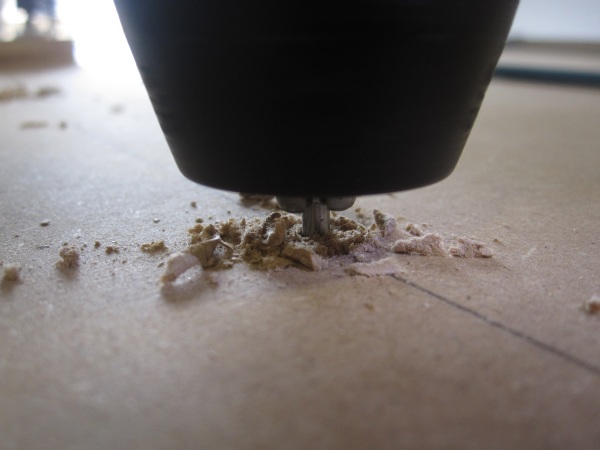
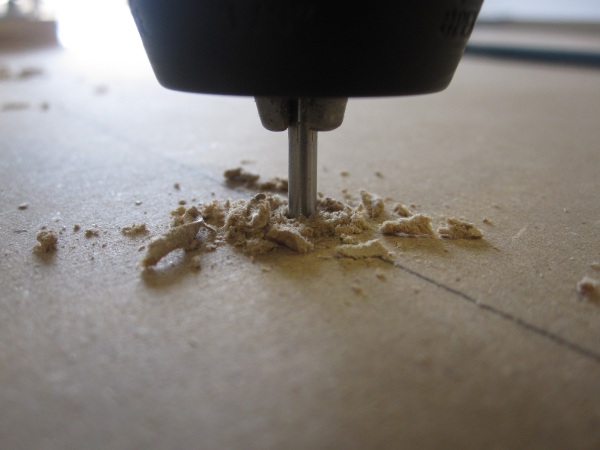
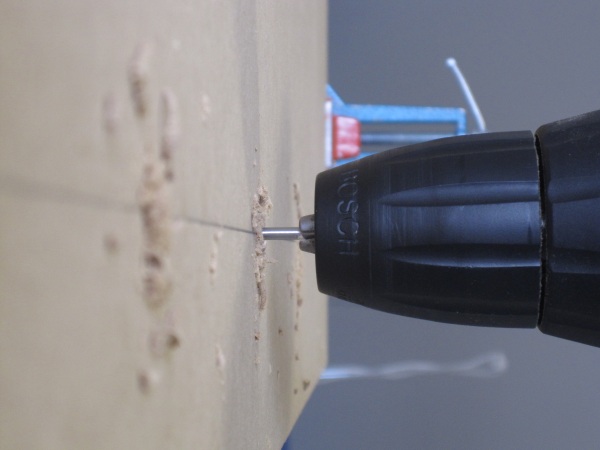
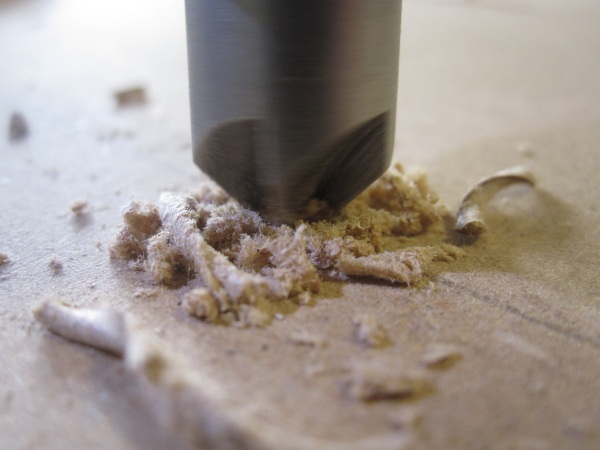
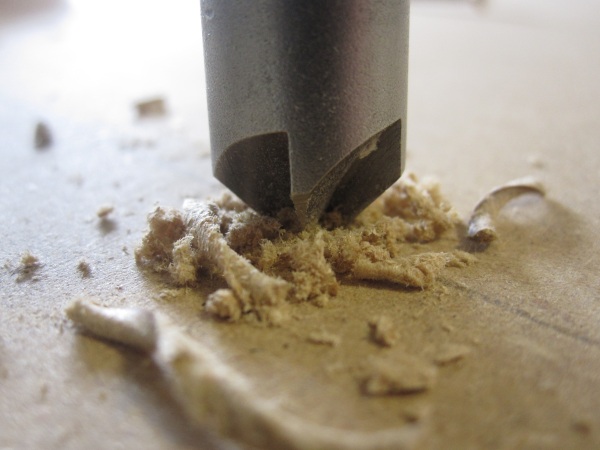
Time to replace the battery. I must say that these Lithium-Ion batteries are very good. They have a lot of power, maintain their capacity and charge quicker than you can get them empty. Even when I was drilling the big holes and was probably draining maximum from the battery it didn’t let me down. It was actually the machine itself that was getting hot which decided me to give it a break.
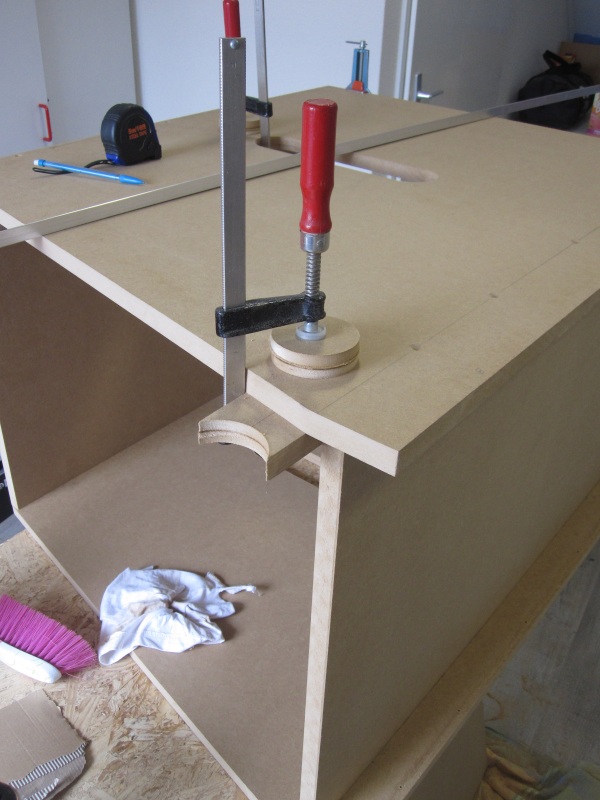
Yes, one down, one to go!
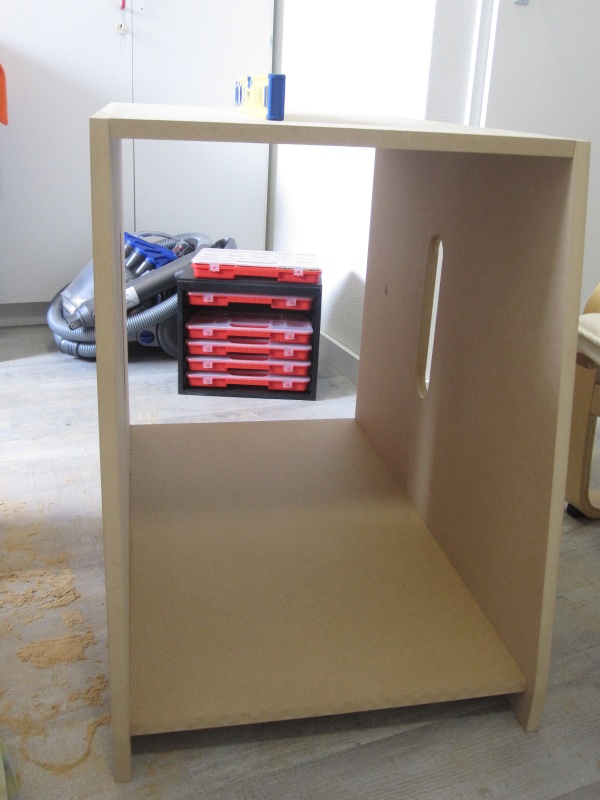
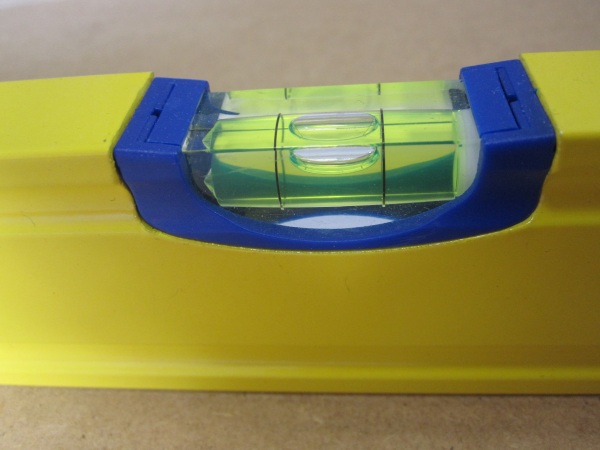
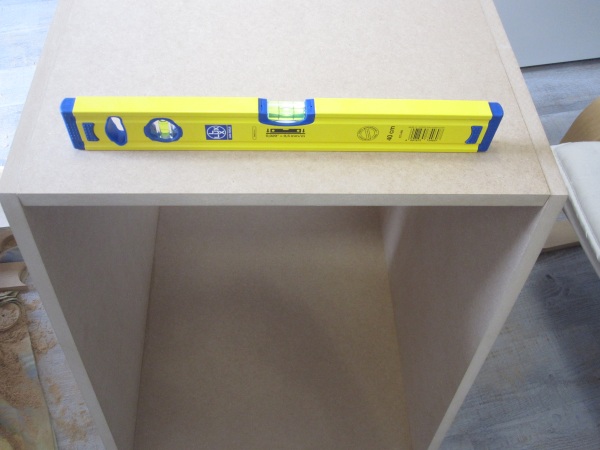
Quick quality check.
Let’s see how this would look like with the new 19″ computer case.
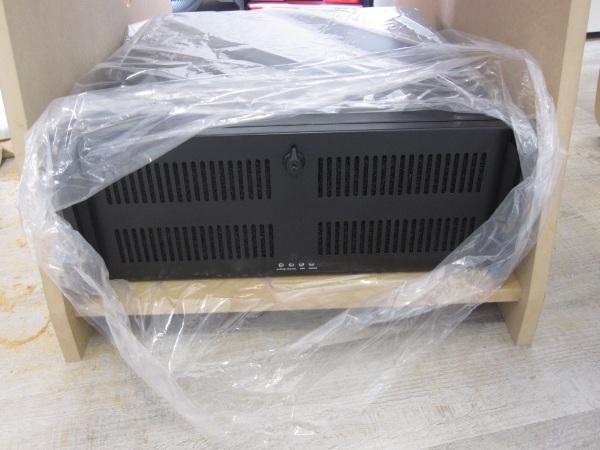
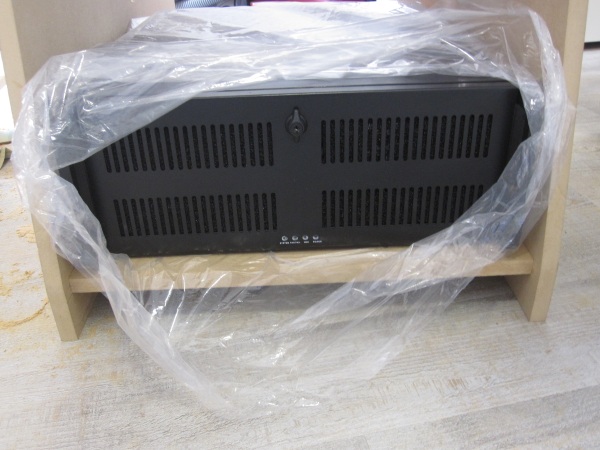
At the end of the weekend, two racks finished.
Trackback from your site.