Studio Console Part 6
Last Friday I got my hands on the lighting for the studio desk. I’m going to go ahead with blue CCFL lights. The big advantage of them is that they give a lot of light and you can get them cheap with everything ready for connecting to a computer power supply unit which is going to be build-in anyway. Also I went down the store for a piece of plexiglass. The result is promising though there are also a few lessons learned.
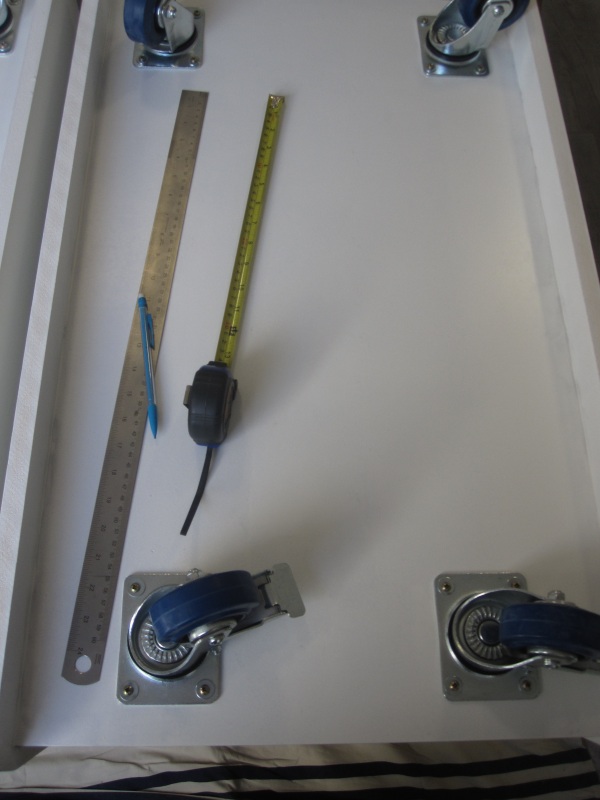
In order to have the light on the bottom more reflected I’ve temporary dismounted the wheels painted it with one laying of primer and mounted the wheels back on again.
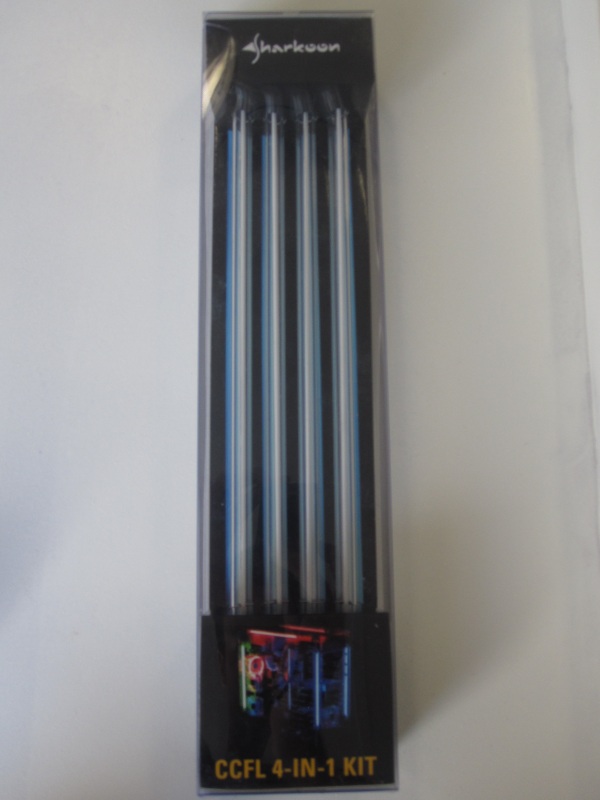
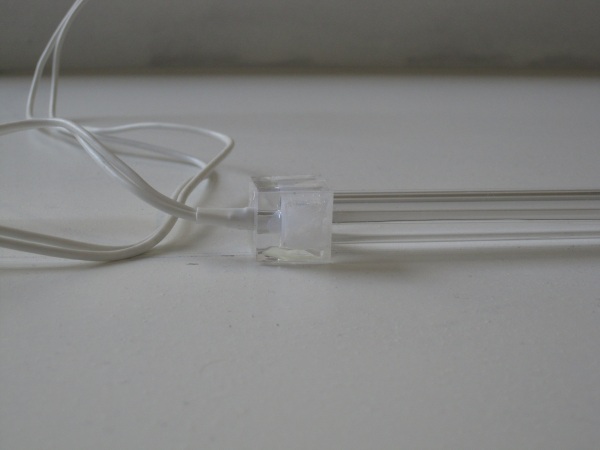
Sharkoon has this 4 in 1 pack with all you need in there for less than 10 euro. I bought two of these packs which make’s the price for a single CCFL about € 2,50.
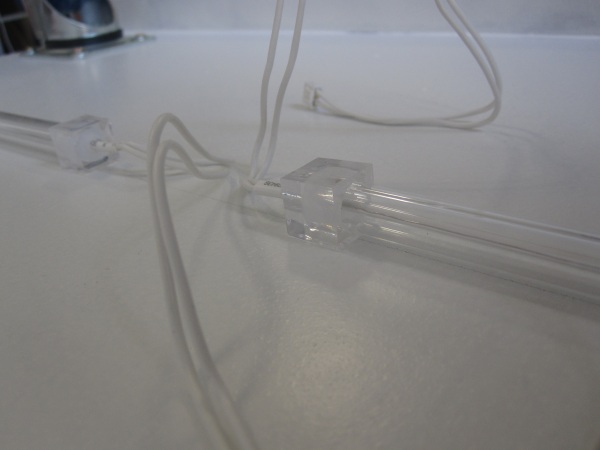
The kit comes with some kind of sticky mounting but I read in some reviews it holds bad. I just glued them with universal glue directly to the bottom of the 19 inch racks.
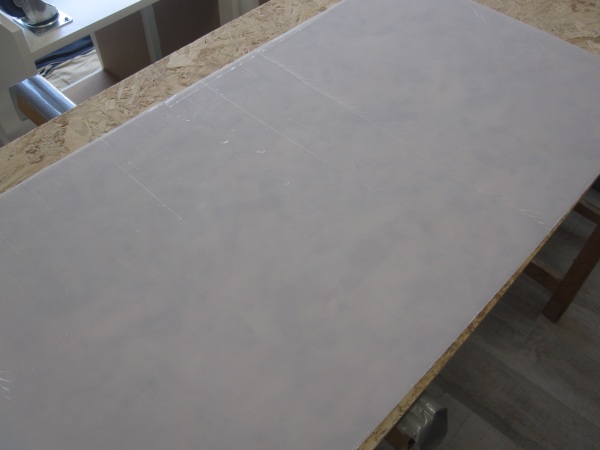
I also got the plexiglass that is going to cover the side openings.
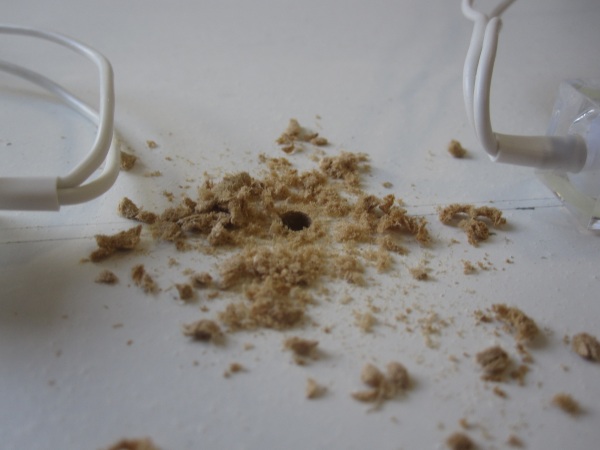
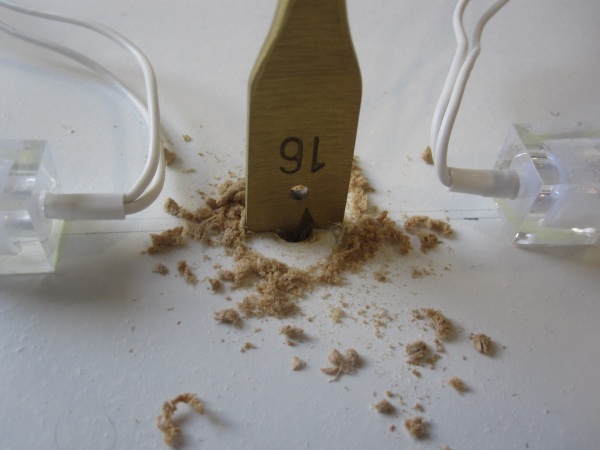
The CCFLs have a very long lifetime, although the inverter might not have. At least, that’s the component I expect to be the weakest link. For easy replacement in the future I like to have that inside the rack instead of somewhere mounted to the bottom. So the wires need to go through the bottom plate inside the rack. That means drilling time.
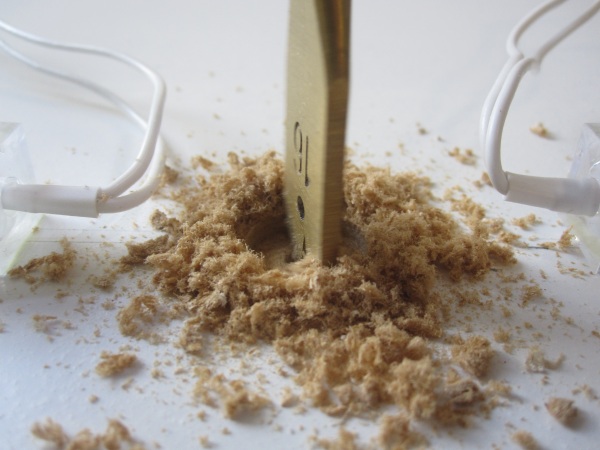
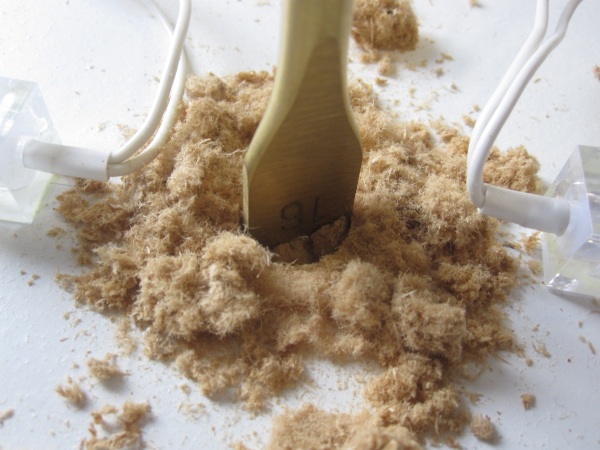
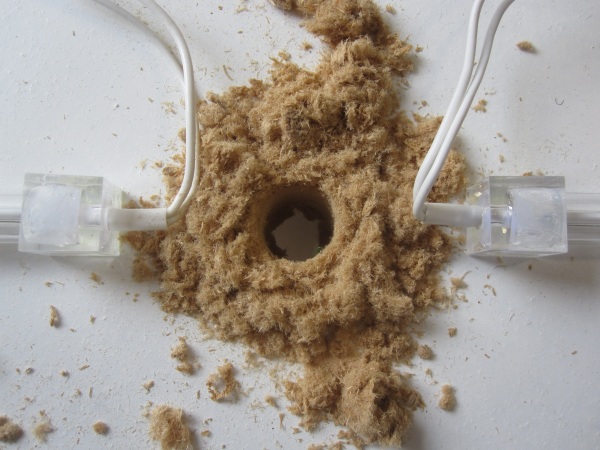
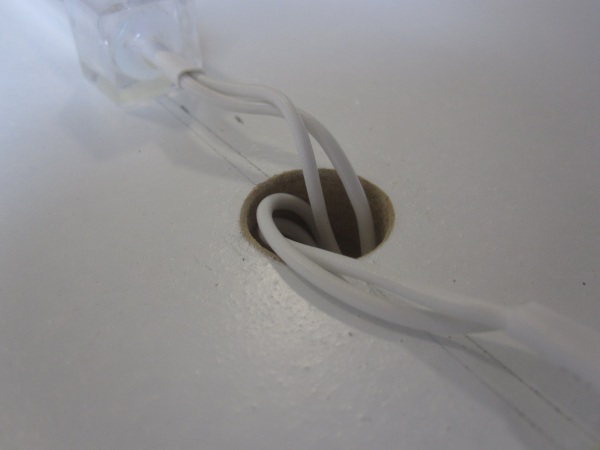
The inverter still needs to get a permanent location.
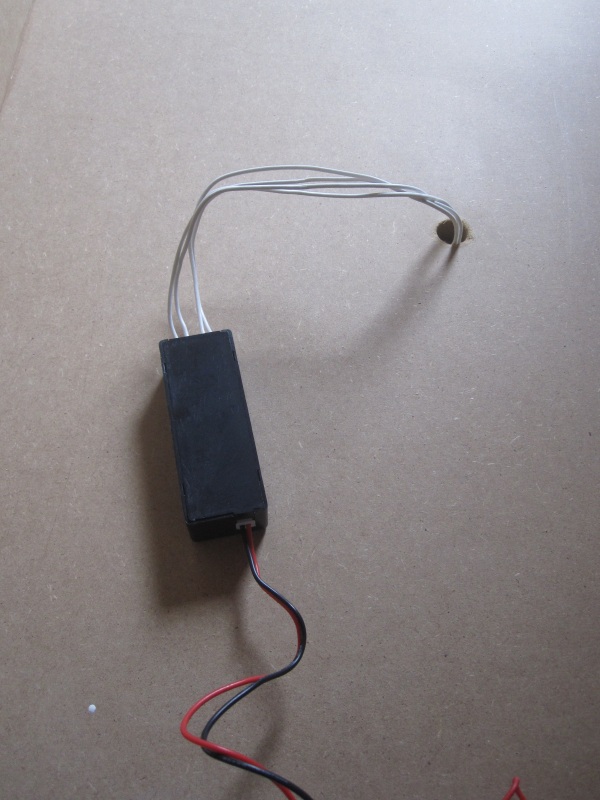
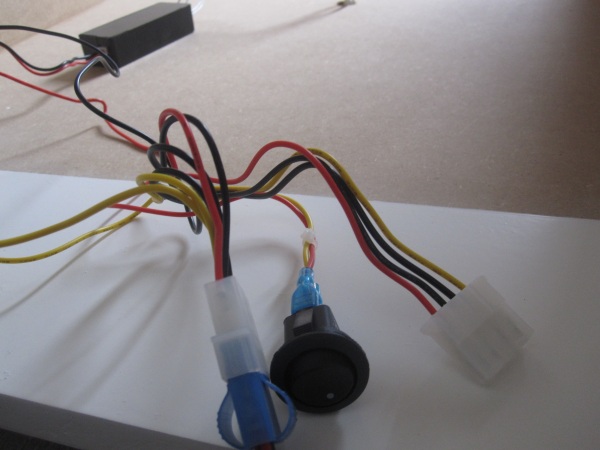
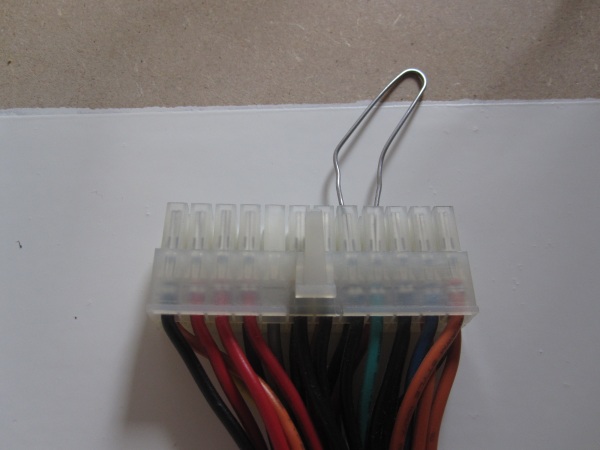
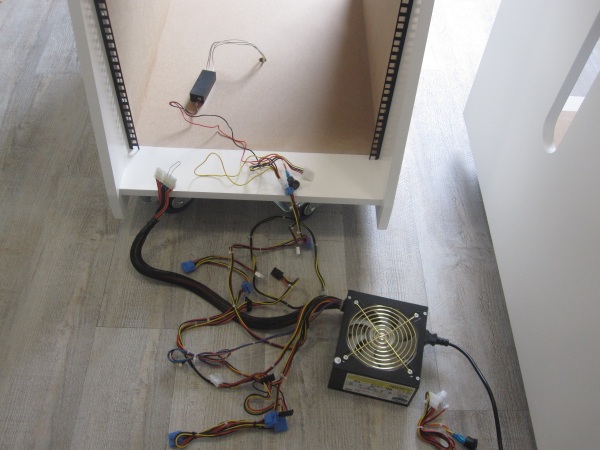
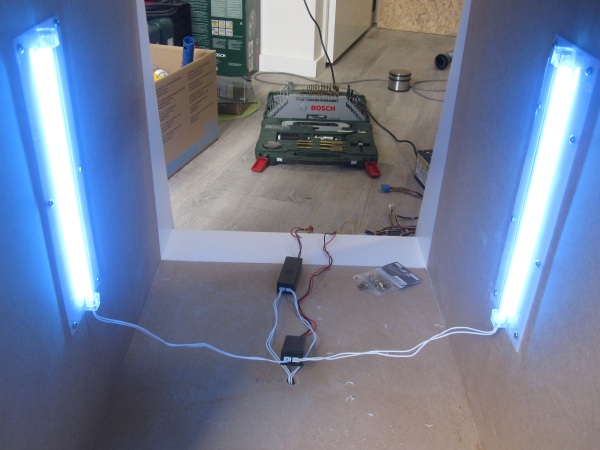
I temporarily short wired the computer power supply to make it start running. I love paperclips.
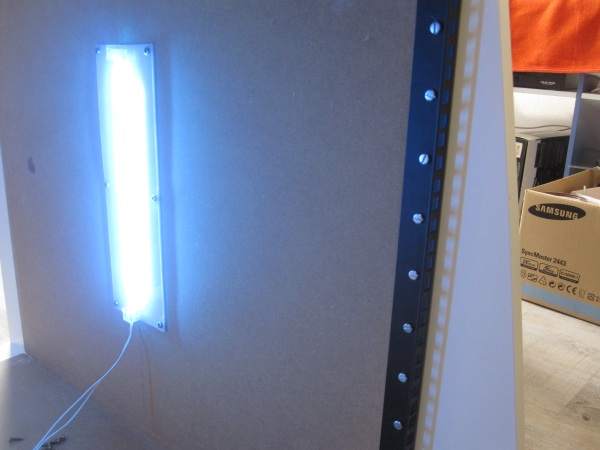
Hit the switch and see the lights light up. This is still during the day with daylight in the room, lots of light already. Pictures from in the evening are more down.
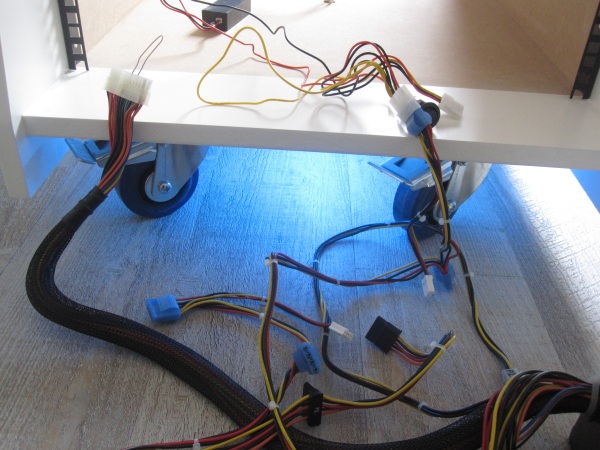
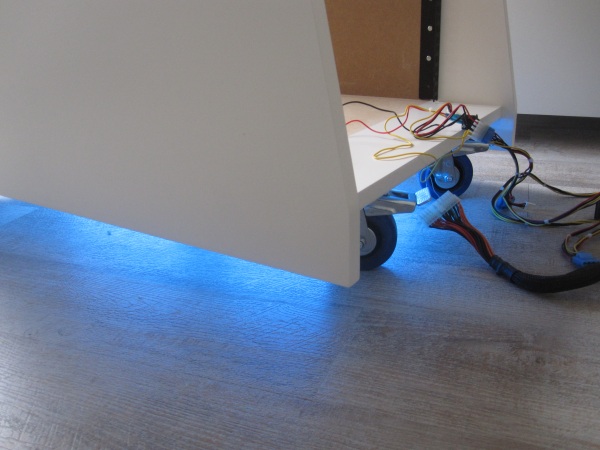
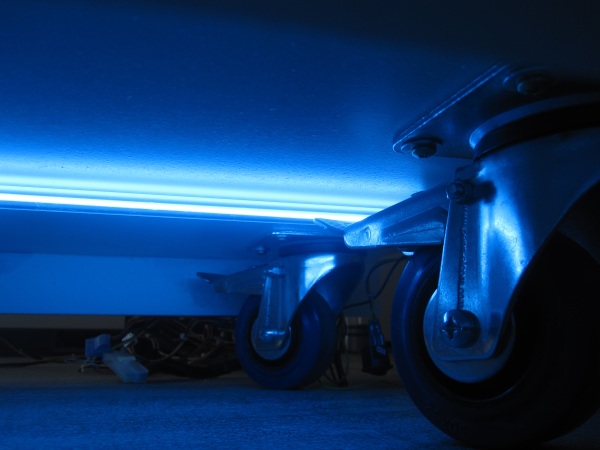
The plexiglass was harder to work with then I imagined. I first tried cutting it with the Bosch saw which has still a blade in it for metal. This didn’t give a nice cut and after cutting a while the saw got hot and started to melt the plexiglass. I did a few other tries but in the end I found that cutting it with a Stanley knife and then breaking it gives the best results. However, took me some tries to figure that out. Therefore not all the plexiglass covers are nicely cut, but that’s just on the inside. On the outside the final result is still great.
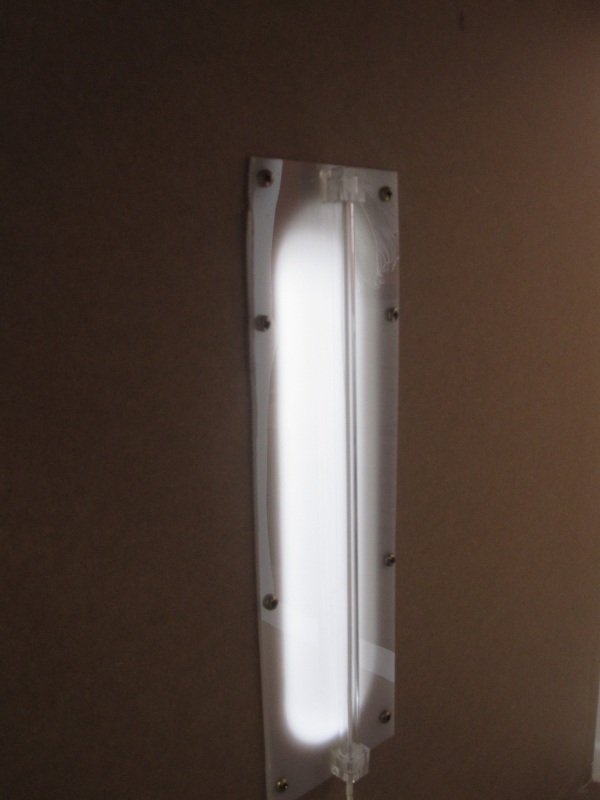
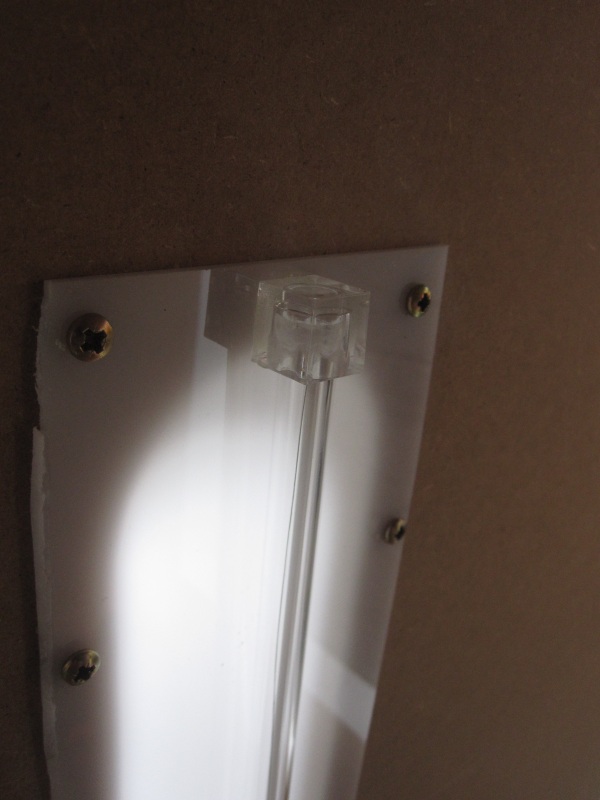
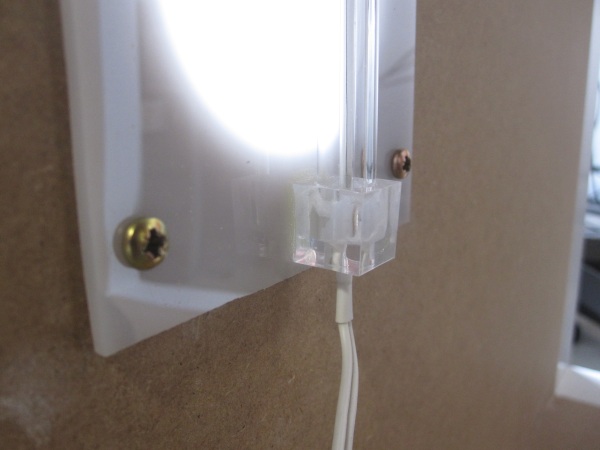
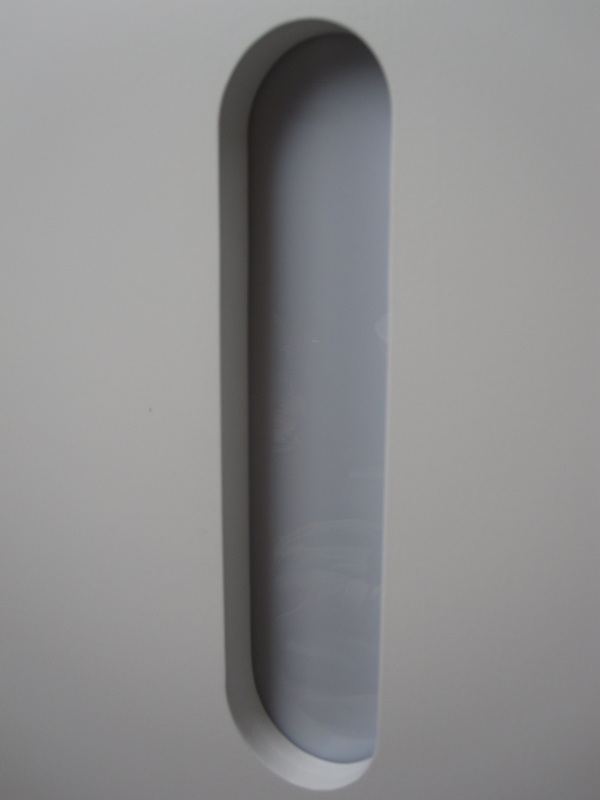
One of the lessons during the weekend was that I should have calculated for some more space between the light and the plexiglass. Also the plexiglass could have been a little more defuse, although at the shop I was scared that this type wouldn’t let enough light trough anymore. Apparently I was wrong so you do see the light a little bit more than I originally planned.
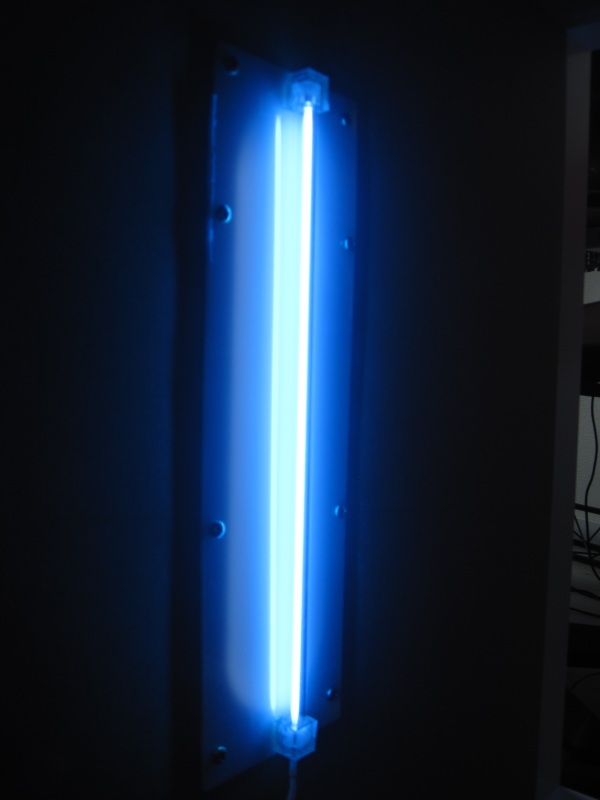
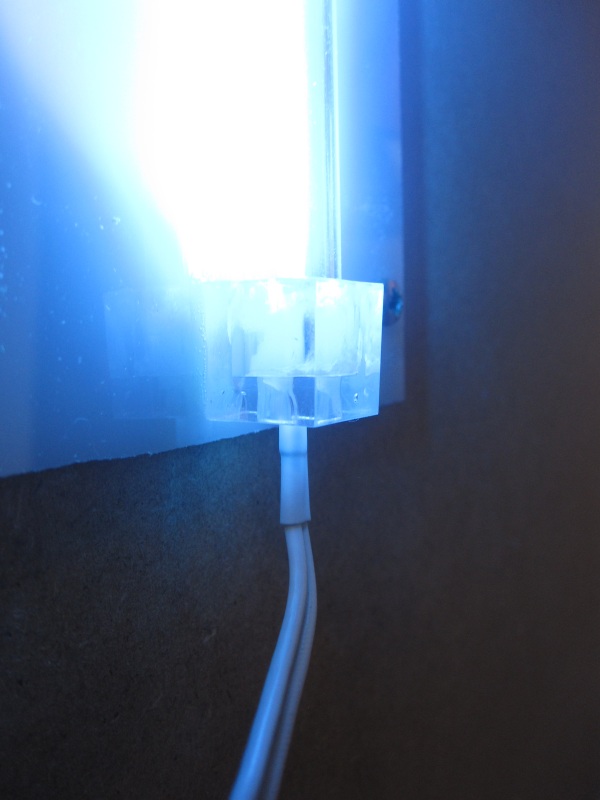
Again I used universal glue to mount the light onto the plexiglass.
Something else I ran into was that I can’t get more than one converted and thus two CCFL lights to run on the power supply. If I connect more than one the power supply goes into some error mode and shuts down. Initially I thought I had a faulty converter, but using another one resulted in the same issue. I’m not sure why it is doing this, but my feeling says that a dummy load might fix this. Have to test this, meanwhile there are only pictures with either the side light on or the bottom light on.
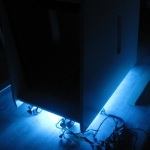
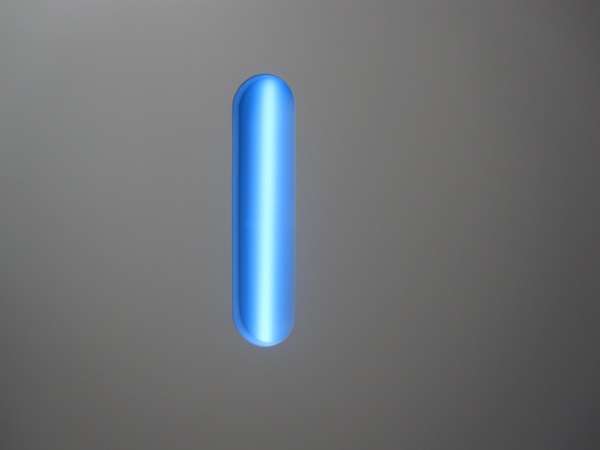
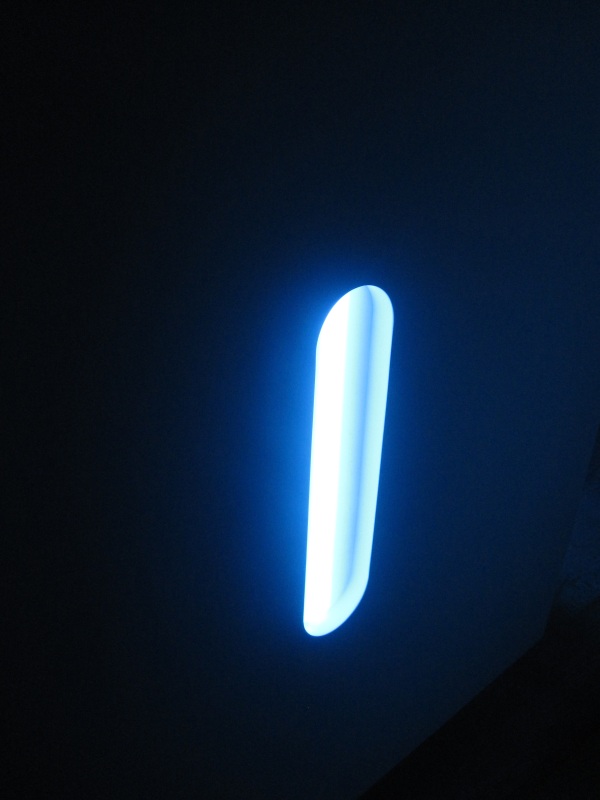
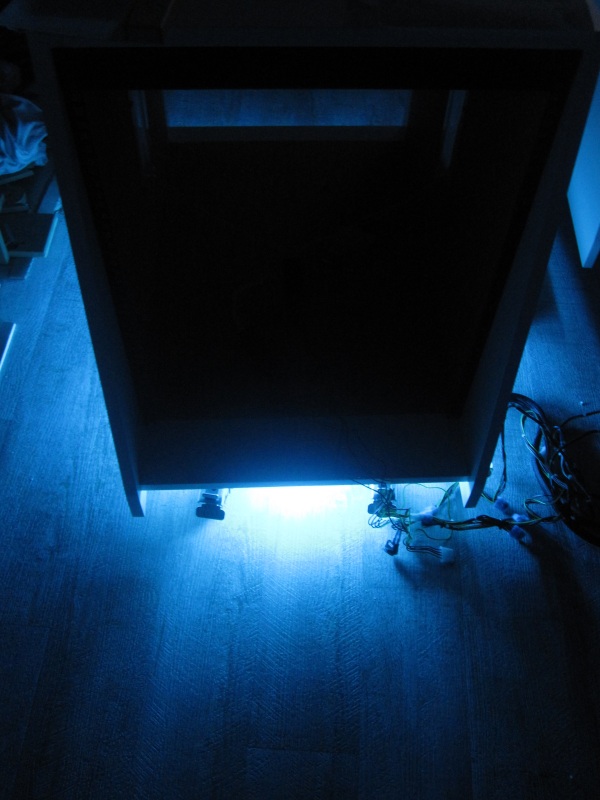
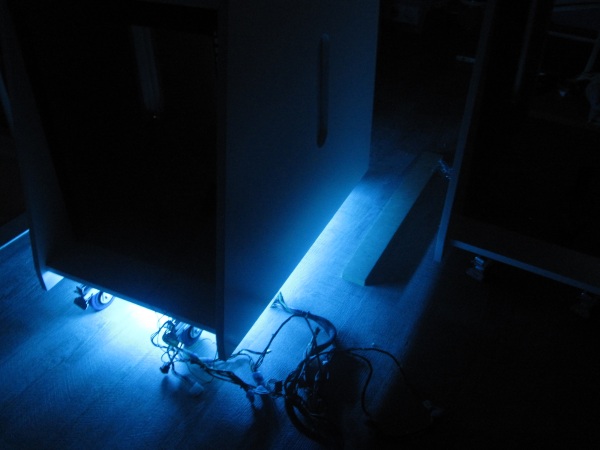
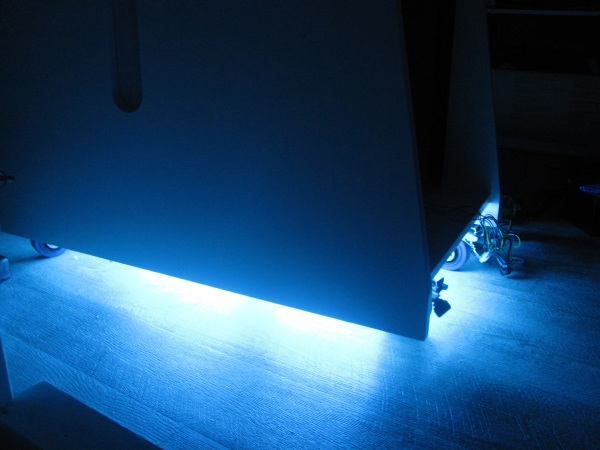
Best for last, the pictures of the lighting in the dark. I must say, it looks great. This is a little bit more difficult to capture with this camera, but will make sure that at the very and I will get some pictures made with a more advanced camera.

Trackback from your site.