Studio Console Part 9
Here is already part 9 of the DIY studio console. I’m starting to wonder how many parts it will take before it is finished. Though it might never be finished in my opinion. I think I’ve fixed the issue with the CCFL lights that came off last time. I glued them again to the bottom of the racks, but this time with a little more glue on both surfaces and gave it 10 minutes for initial drying before forcing them together. In other words, I did read the manual this time. And I’ve finished all the wood work, I think…
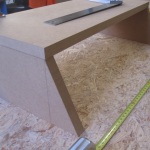
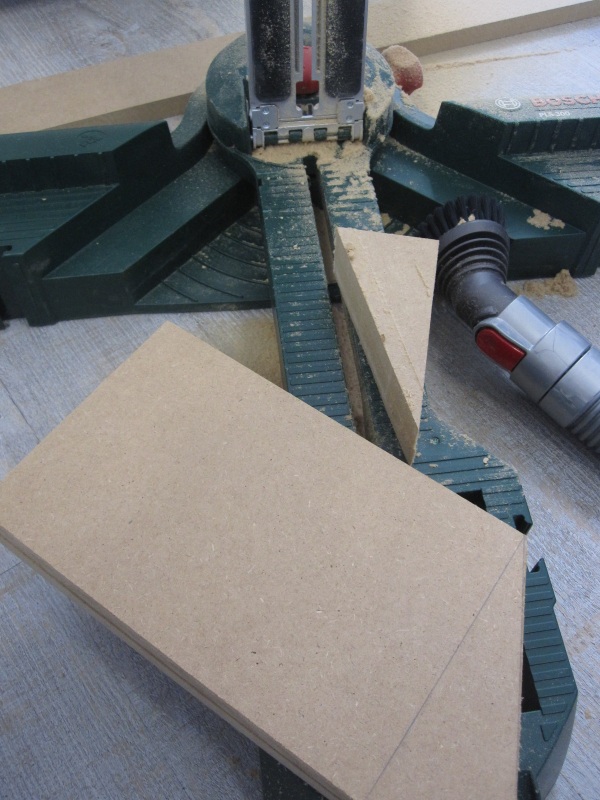
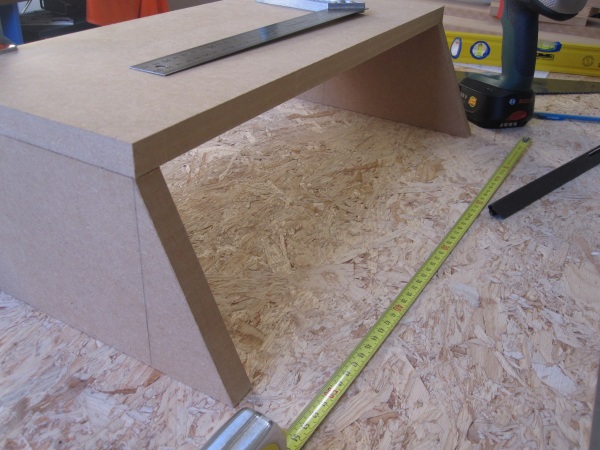
For the last part I didn’t reach out to Google SketchUp but just stick with improvising and a real pencil. I just needed one more small rack for on top of the desk, supporting 3HE of 19 inch rack space but this time angled.
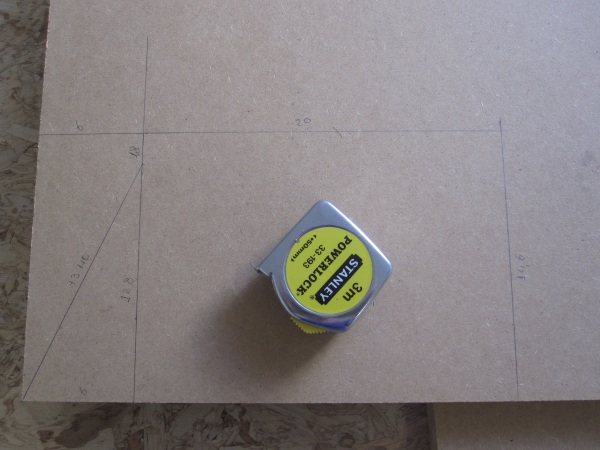
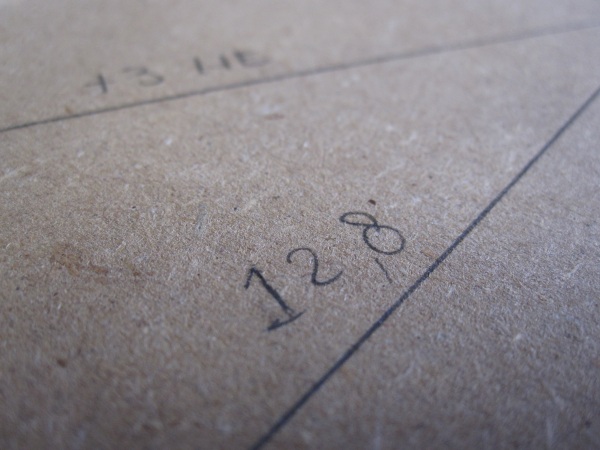
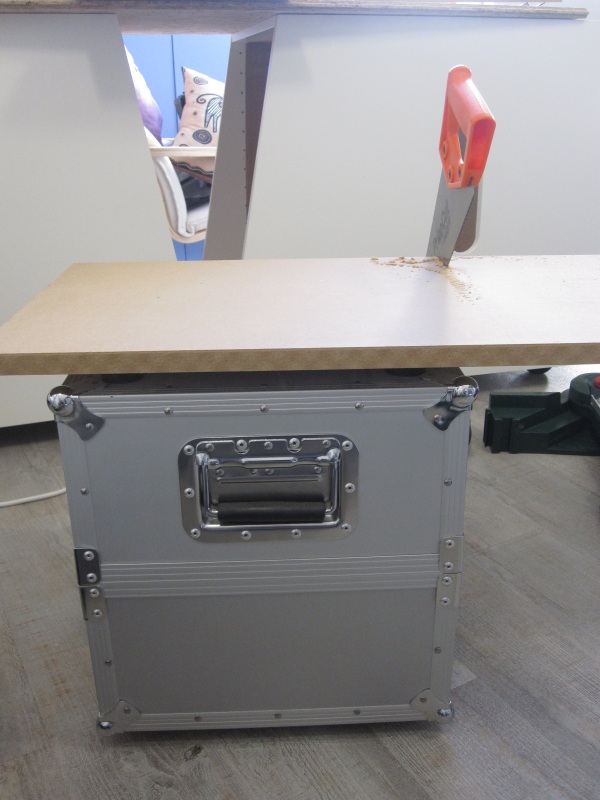
After some measurements and line drawing it was cutting time. Found out that a vinyl case has actually the perfect height for supporting this. And the rubber tops make it even skid proof.
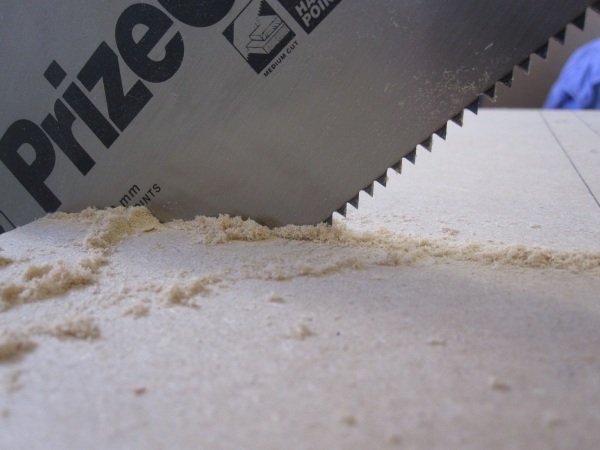
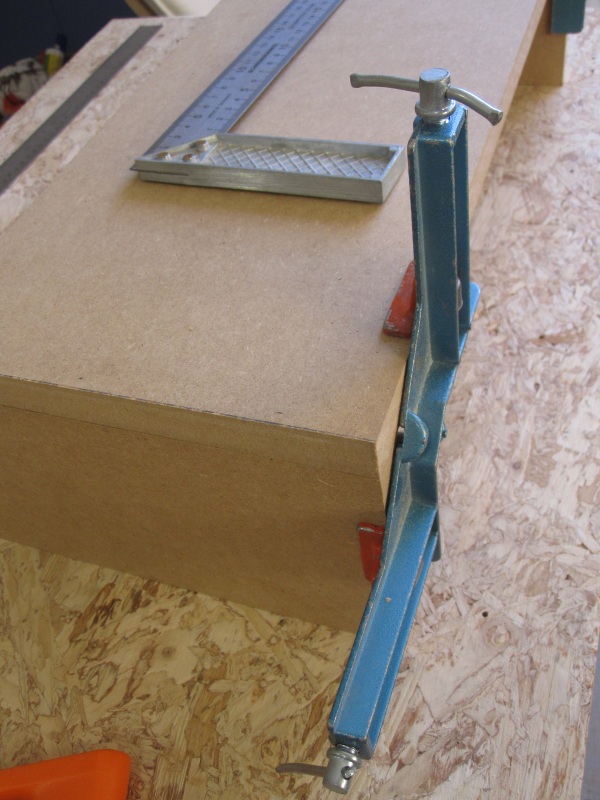
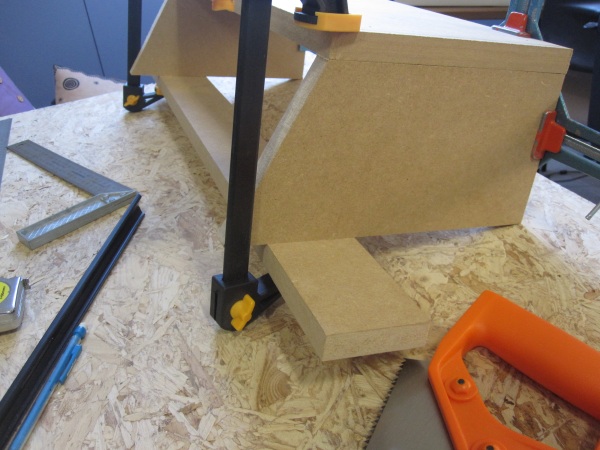
Time for mounting it all together and prepping it for mounting on the desk.
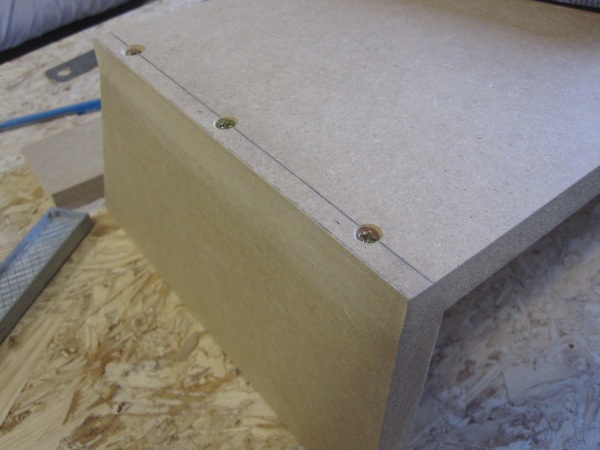
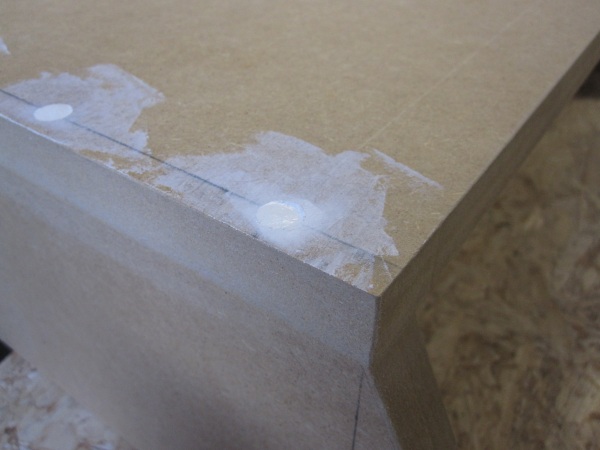
This is also going to be painted, so again time to clean up the screw holes.
And then there is the magical moment. Since everything is almost ready, a quick assembling of the whole studio desk. Both 19 inch floor racks, the desk itself and the 19 inch top rack. For people who didn’t get the idea yet, this is it:
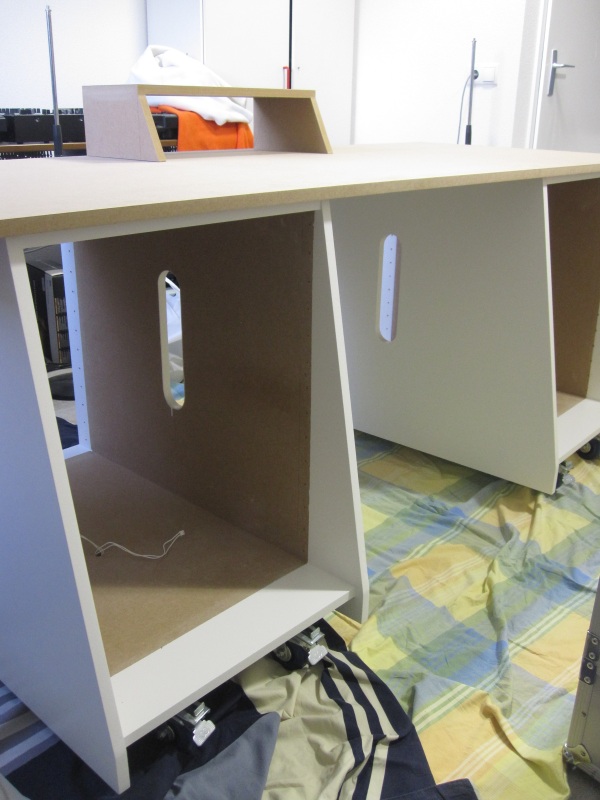
Just 3 cuts left from the wood completion phase or something like that.
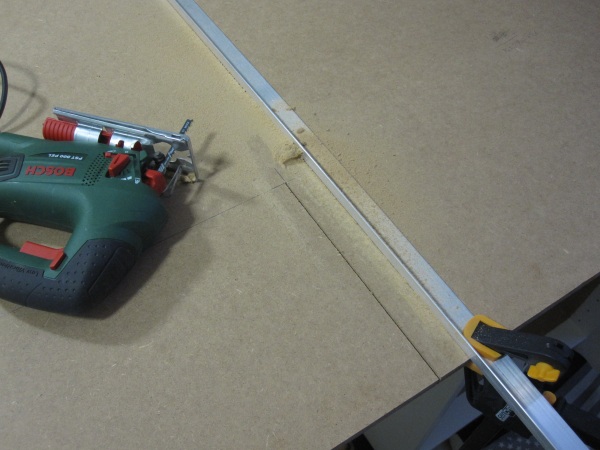
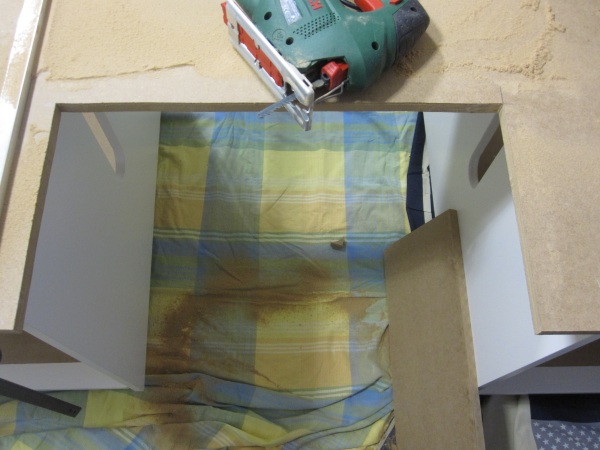
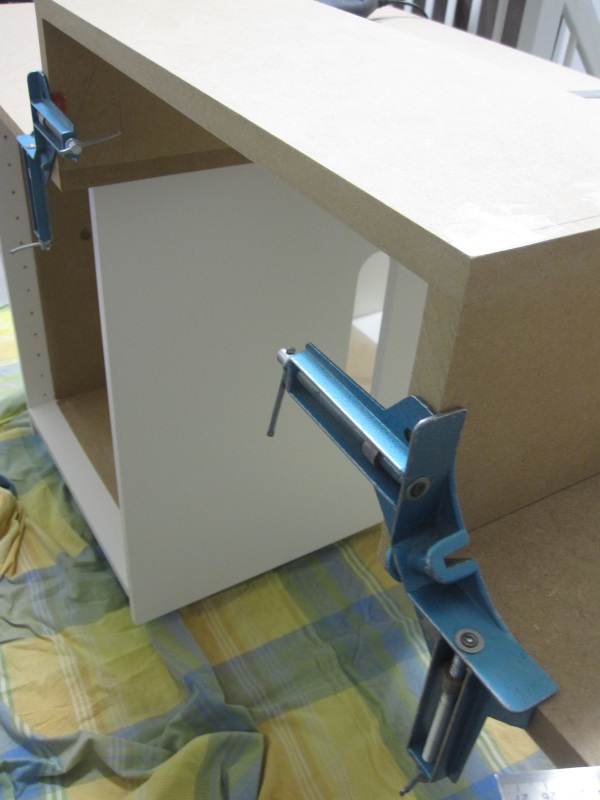
And done for now, next is the priming of the new parts. Hell yeah :)
Trackback from your site.